In part 1 we covered our Architecture for the Custom Cloud. Now we’re going to walk through how we build one.
This will require access to the AWS Console.
Login to AWS and go to the VPC Dashboard.
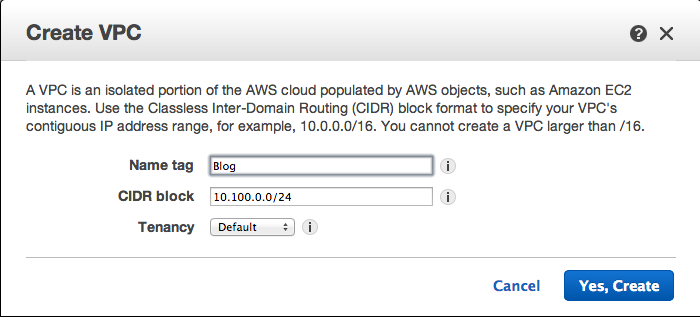
Do NOT click on the VPC Wizard. Instead, select the “Your VPCs” on the left and click “create VPC”.
.png)
Fill-in the window that appears. For this example we will call the VPC “Blog” with a subnet of 10.100.0.0/24. (I know when I first started in on AWS I thought I would never have to deal with network subnetting again. Surprise... it’s still here.)
Once the VPC is created, Edit the VPC and enable DNS Host Names.
Next select Internet Gateways on the left. Then Click “Create Internet Gateway”.
.png)
Fill-in the Gateway name. It makes it easier to identify components of a VPC if you use the VPC name whenever possible.
- Select your new Internet Gateway and click “Attach to VPC”.
- Select your VPC from the drop down and click attach.
If you notice, my menus are a little crowded. From this point on I recommend using filter by VPC on the left. Simply select your VPC from the drop down and you will only see items connected to your VPC.
Next click "Subnets" on the left.
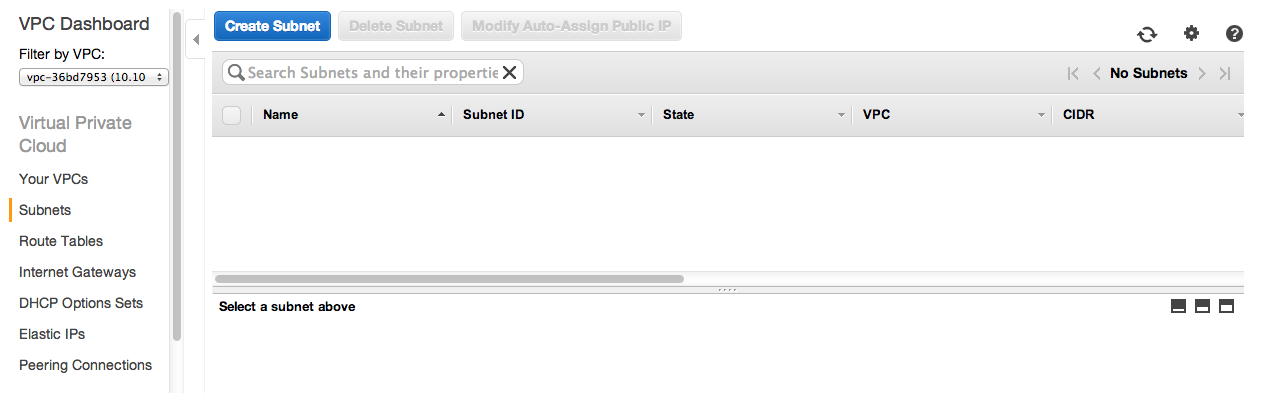
In this example we will create 4 subnets.

Note: for the Name I use the <VPC Name> <AZ> and DMZ (If it is one)
Make sure to select your VPC and Availability Zone from the drop downs.
When you are done you should have 4 Subnets. The names and CIDR block for mine are below.
- Blog 2a DMZ: 10.100.0.0/26
- Blog 2b DMZ: 10.100.0.64/26
- Blog 2a: 10.100.0.128/26
- Blog 2b: 10.100.0.192/26
Select Route Tables on the left.
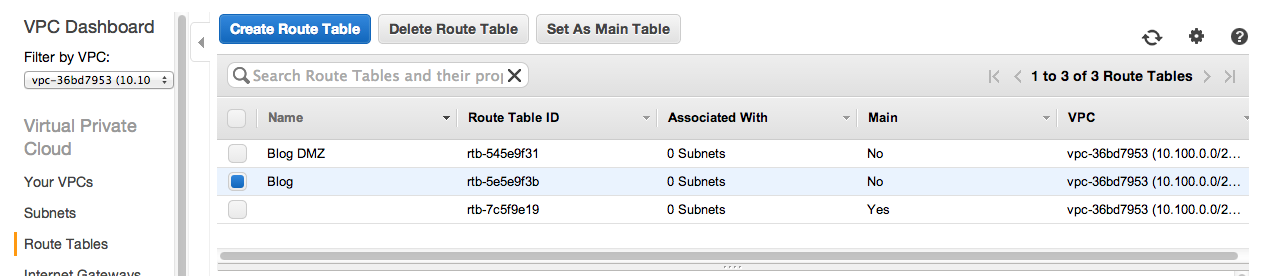
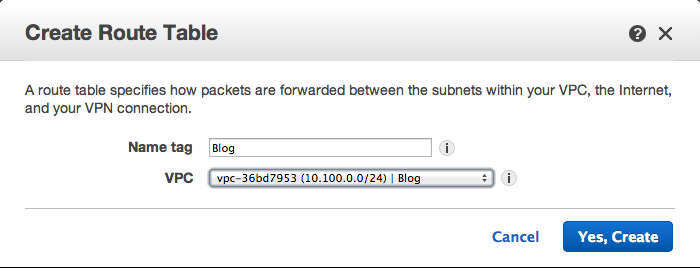
Create two new Route Tables. Mine are called called Blog DMZ and Blog. Just enter the name and select your VPC.
Next associate the DMZ Subnets with the DMZ Route.
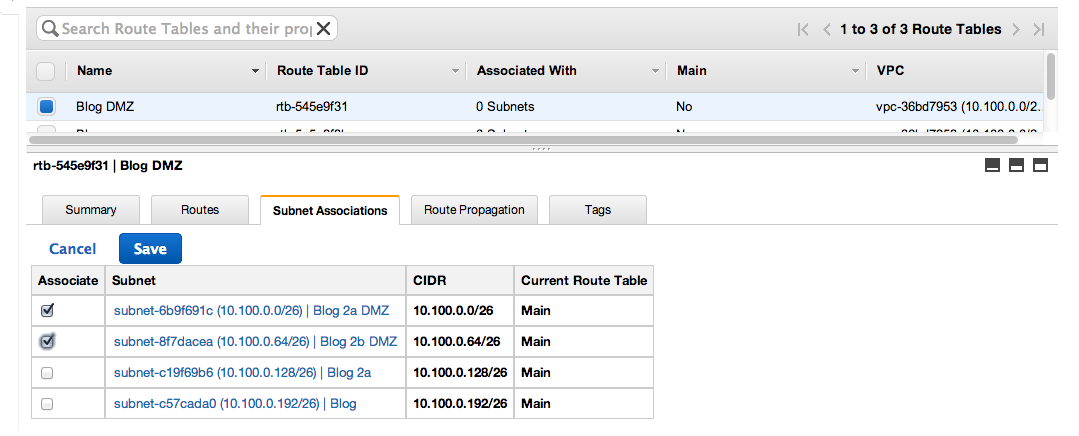
- Select Blog DMZ
- Select Subnet Association tab.
- Click Edit.
- Select the two DMZ subnets. (Blog 2a DMZ and Blog 2b DMZ)
- Press Save.
Next Repeat the steps above with the Blog Route and the last two subnets.
Now we need to set-up routes for internet traffic.
- Select the DMZ Route again.

- Select the Routes Tab.
- Add destination 0.0.0.0/0.
- Under target type igw and the Internet Gateway ID should appear.
- Click save.
Before we setup and internet route for the internal address we need to start a NAT EC2 instance. Follow the instuction for setting up a NAT instance here: http://docs.aws.amazon.com/AmazonVPC/latest/UserGuide/VPC_NAT_Instance.html#NATInstance
Once it is running, go back to VPC Routes.
- Select the Route Blog.
- Select the Routes Tab.
- Add destination 0.0.0.0/0.
- Under target Enter the instance ID of the NAT instance you just created.
- Click save.
There are a few last little steps to get squared away.
- Define Security groups that fit your need. Simply select security group, and select your VPC from the drop down. I like to define one for the General DMZ and one for the private network.
- Create an Elastic IP and associate it with you NAT instance.
Congratulations! you have a secure, scalable, and redundant VPC.