This post is a tutorial on building a web application to recognize people's age and emotions using photos.
The application and tutorial was created by André Lara, Anne Gonçalves, Fabrício Ishida and Laís Martins.
To see the application, click here.
Stacks and tooks:
For this app, we chose React + Vite + TypeScript for the frontend, Figma for design, and AWS Cloud (API Gateway, Lambda, S3, and AWS Rekognition) for the backend.
Backend:
Let's begin configuring the backend. To do this, we need to access the AWS console.
- S3:
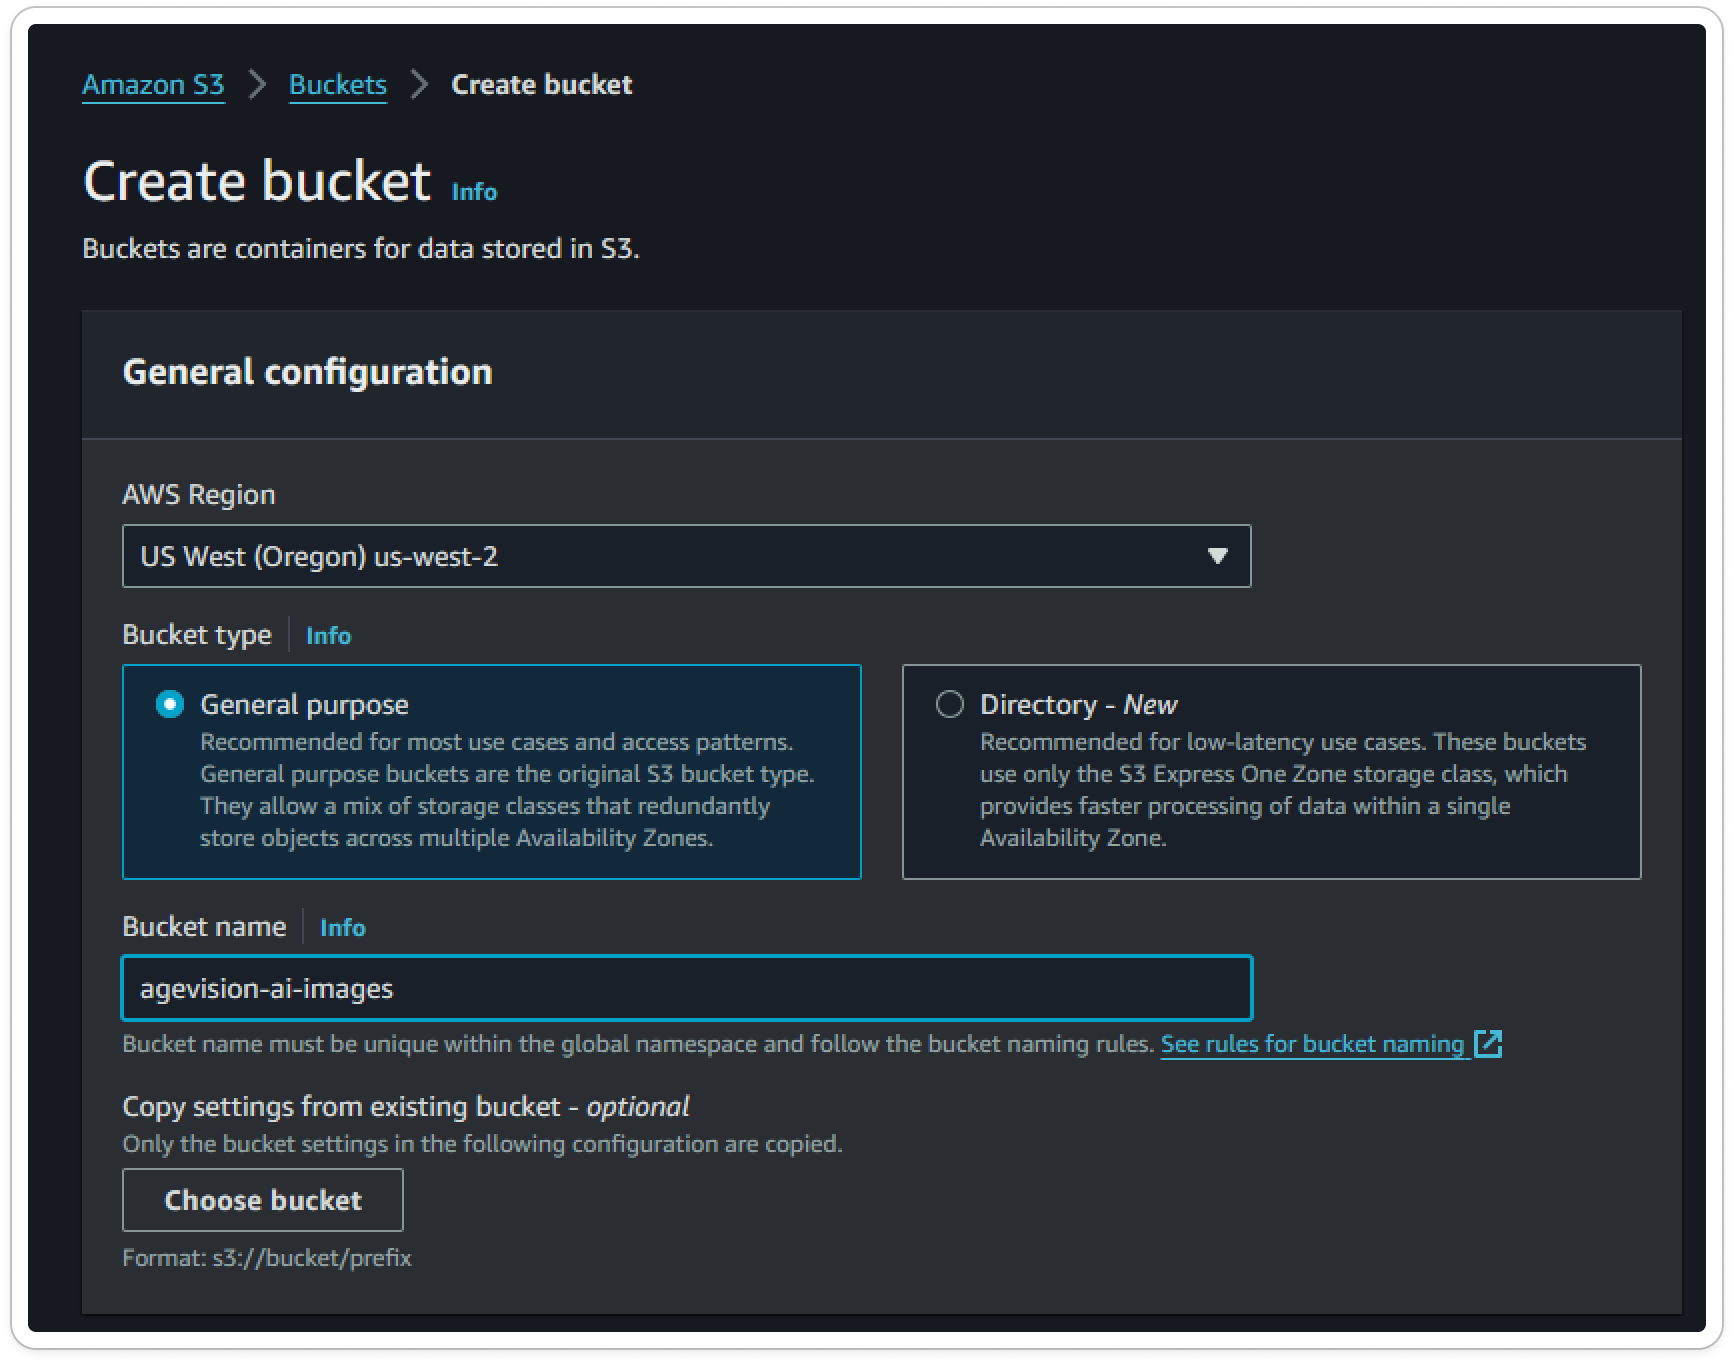
- The first step is to create a new bucket to store our images. This is where Rekognition will retrieve the image to return the requested information. Set the region and the bucket name accordingly;
- Next, we need to specify the region and the bucket name.
- Lambda:
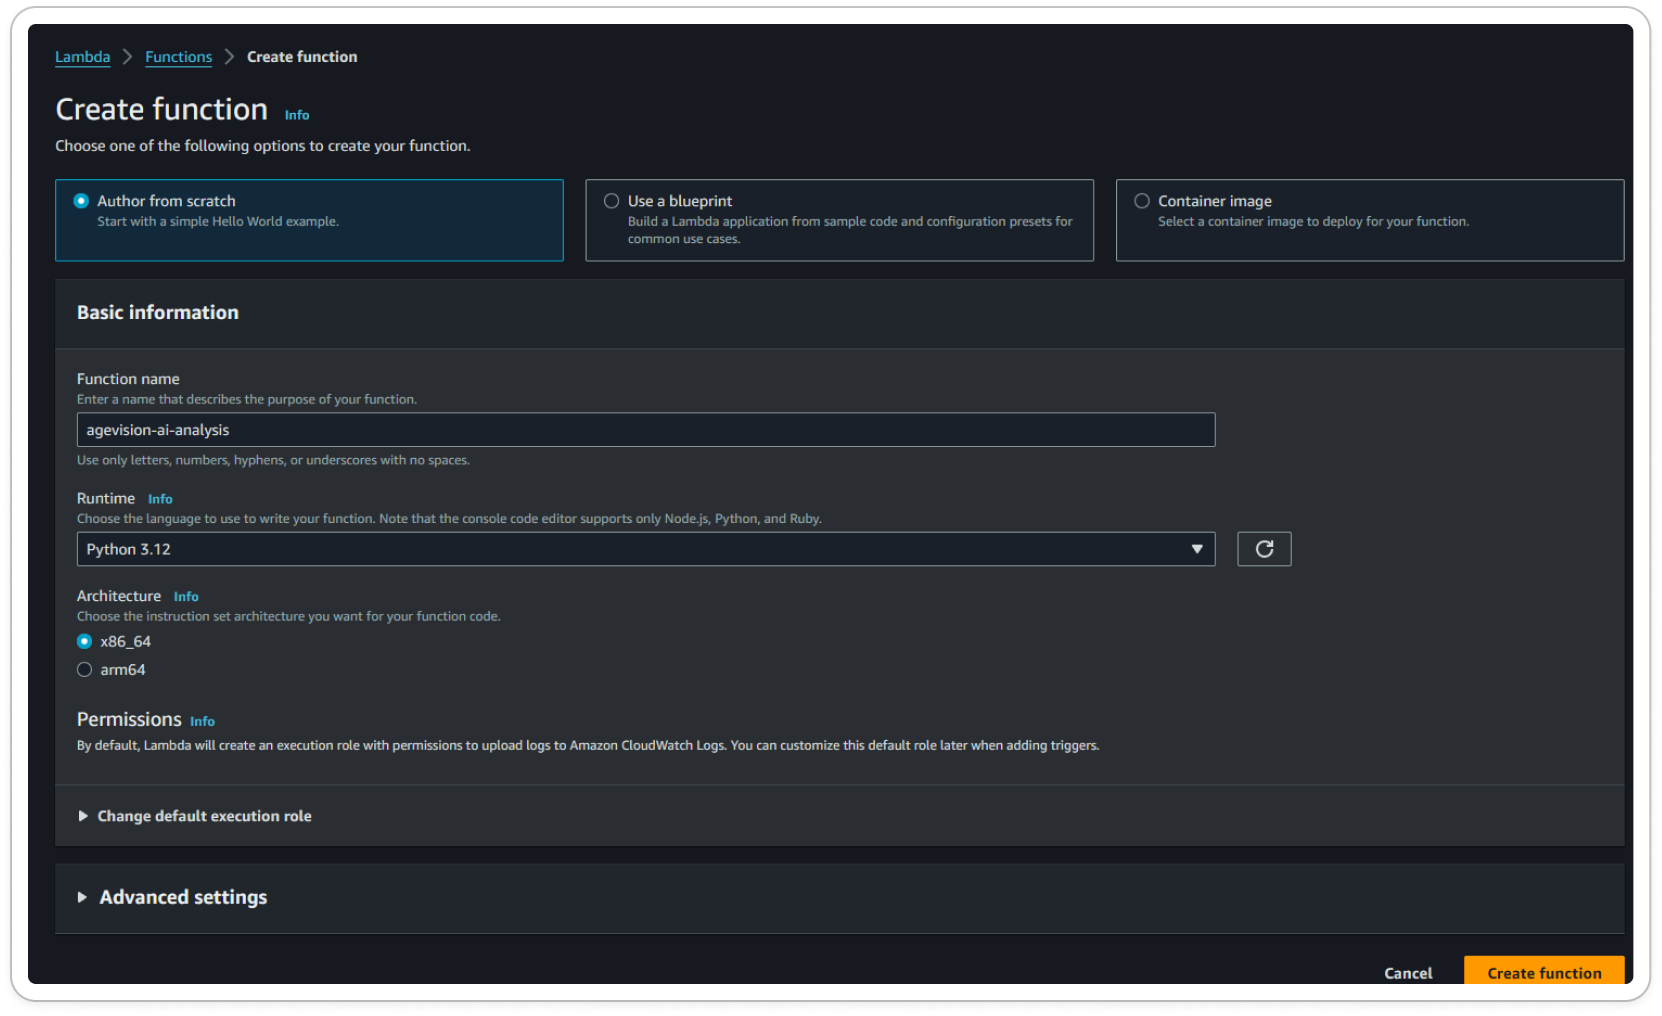
- Once S3 is set up, we need to create a new Lambda function to handle API requests and return the analyzed photo. Go to Lambda in the AWS console and click on "Create Function." Provide a function name, choose the appropriate runtime, and grant permissions to the Lambda to access the S3 bucket;
-
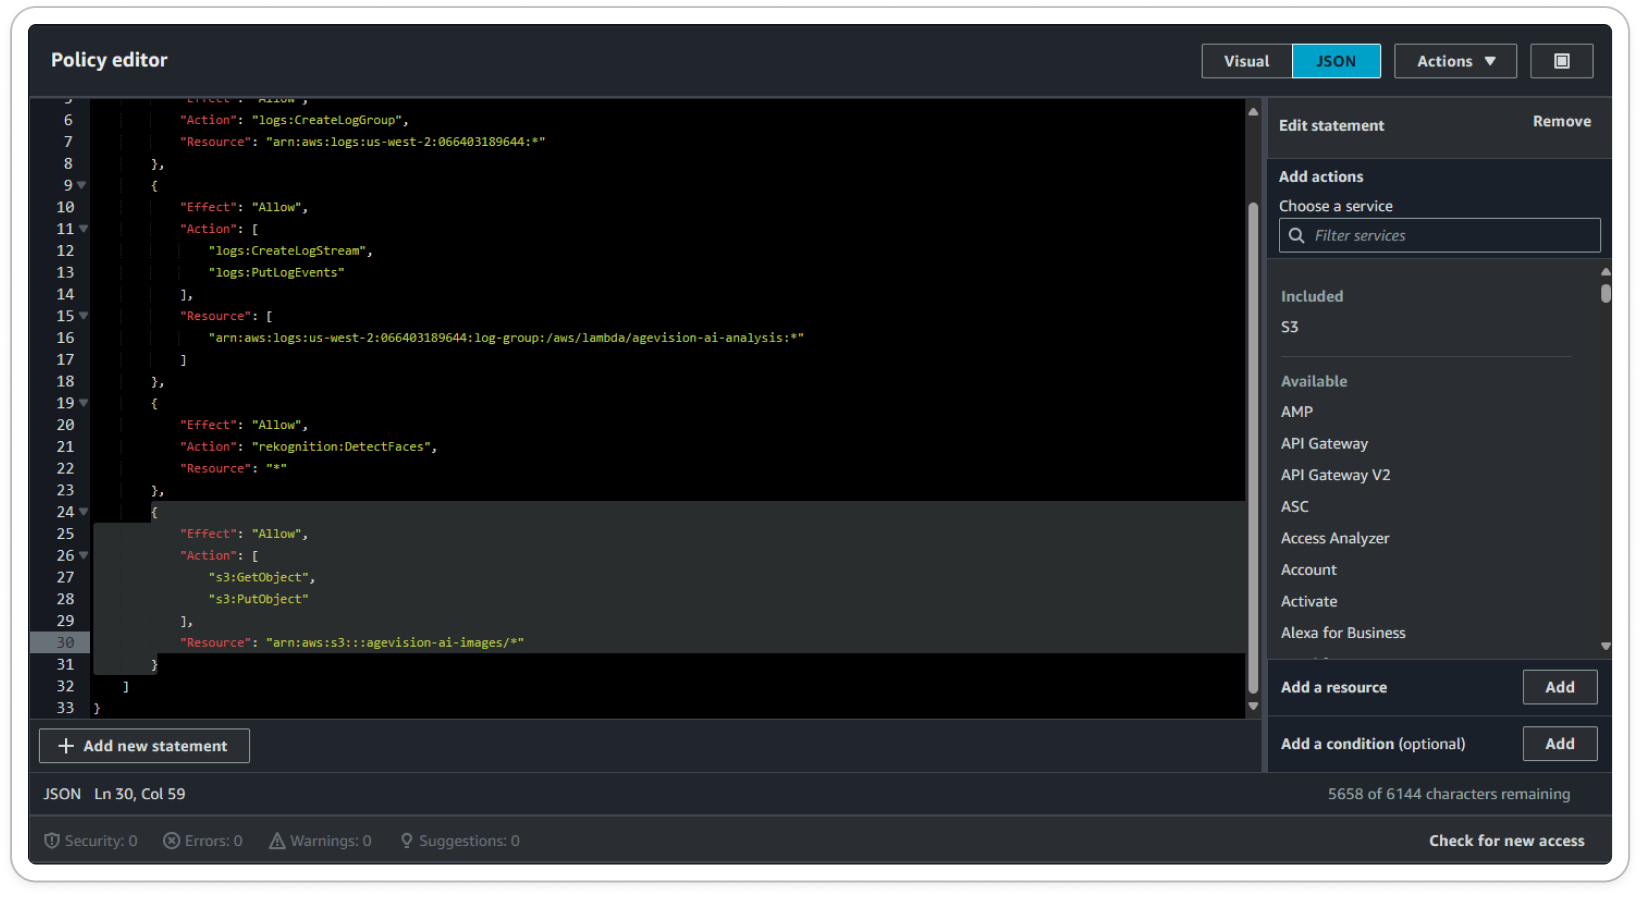
- Grant permissions to the Lambda function to access the S3 bucket and Rekognition;
-
- To check the code that we used in the lambda, access our git repository.
- A quick description of the code:
- The code uses Boto3 for connection and Base64 to access the images.
- Description of the lambda Handler:
-
- It retrieves the image from the request, decodes the base64 to an image, sets the image name as a timestamp, and uploads it to the S3 bucket;
- It then requests Rekognition to analyze the image, using the image stored in S3, and passes the attributes "AGE_RANGE" and "EMOTIONS";
- After obtaining the age range, it calculates the mean and sets the emotion when the Confidence is greater than 40%. Finally, it deletes the image stored in S3 and returns the response to the frontend.
- API Gateway:
- Create a new API Gateway so that we can access our Lambda through an API route.
- Navigate to API Gateway in the AWS console and click on "Create";
- Choose "REST API" from the options and create a new API by providing a name for it.
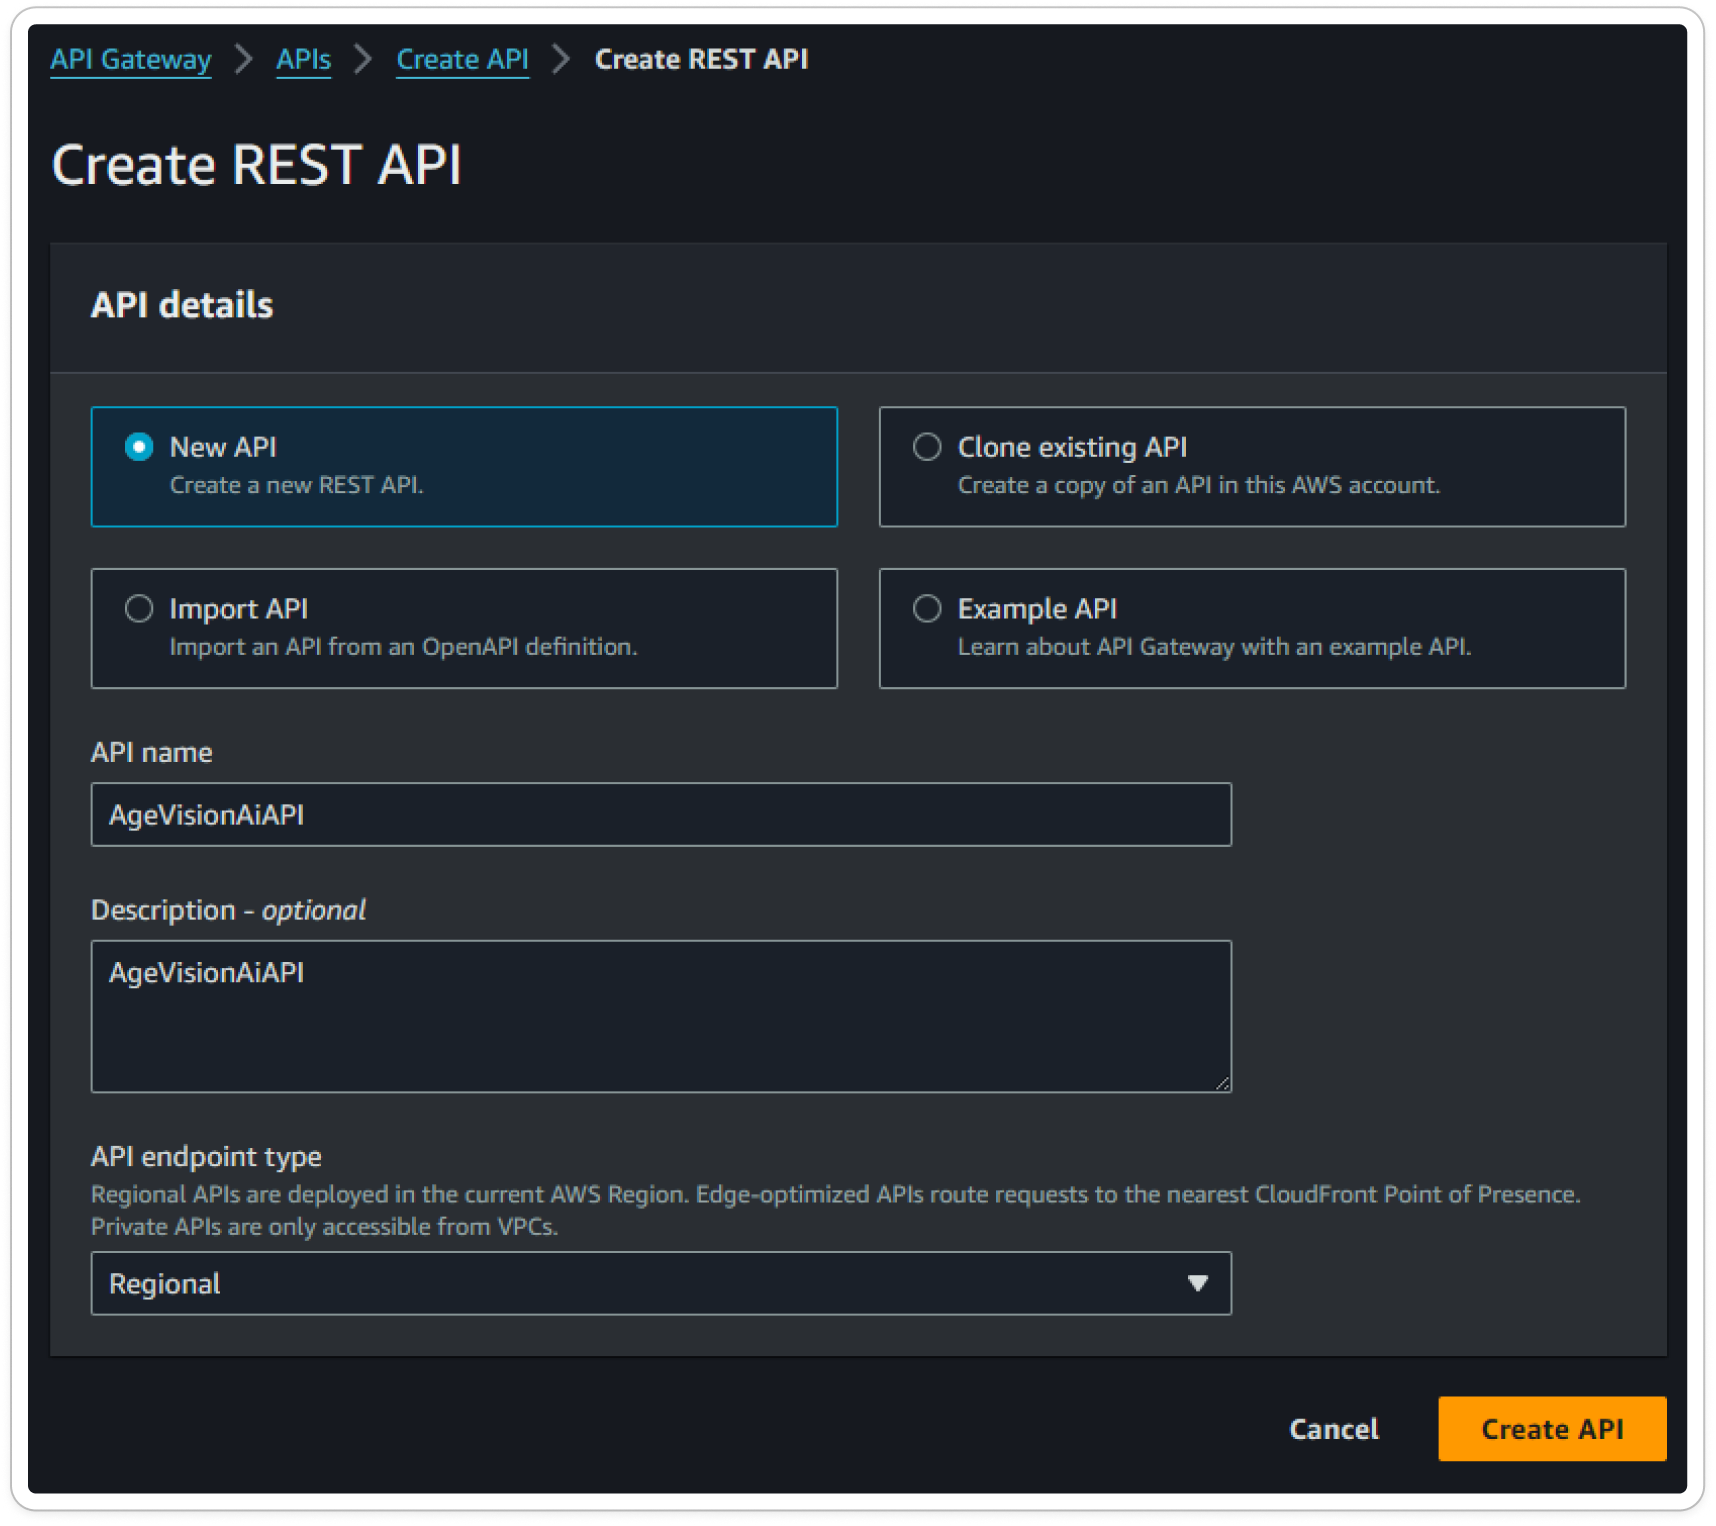
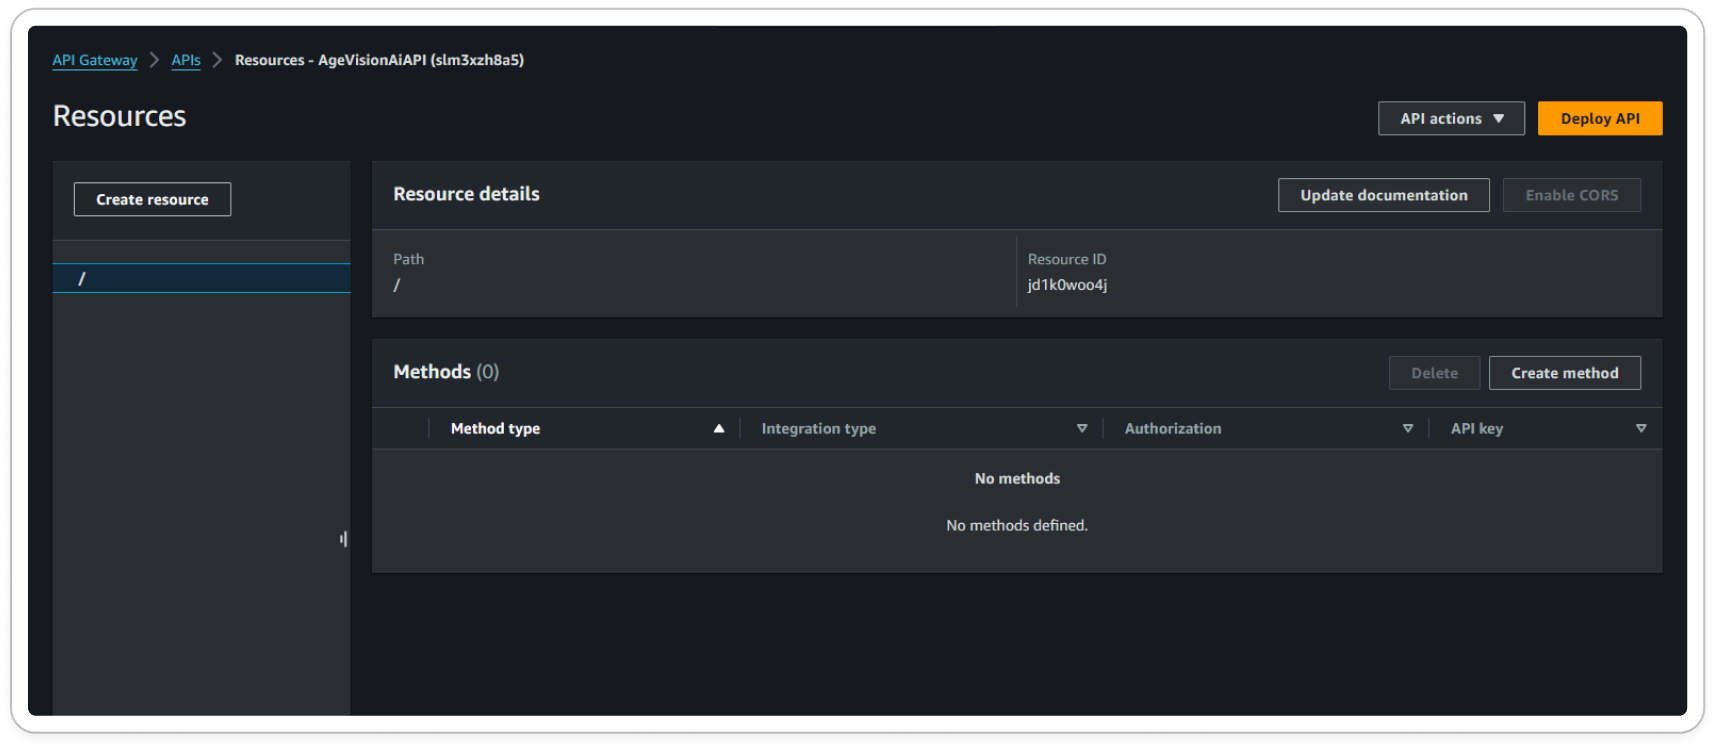
After the creation, this is what we're going to have:
-
-
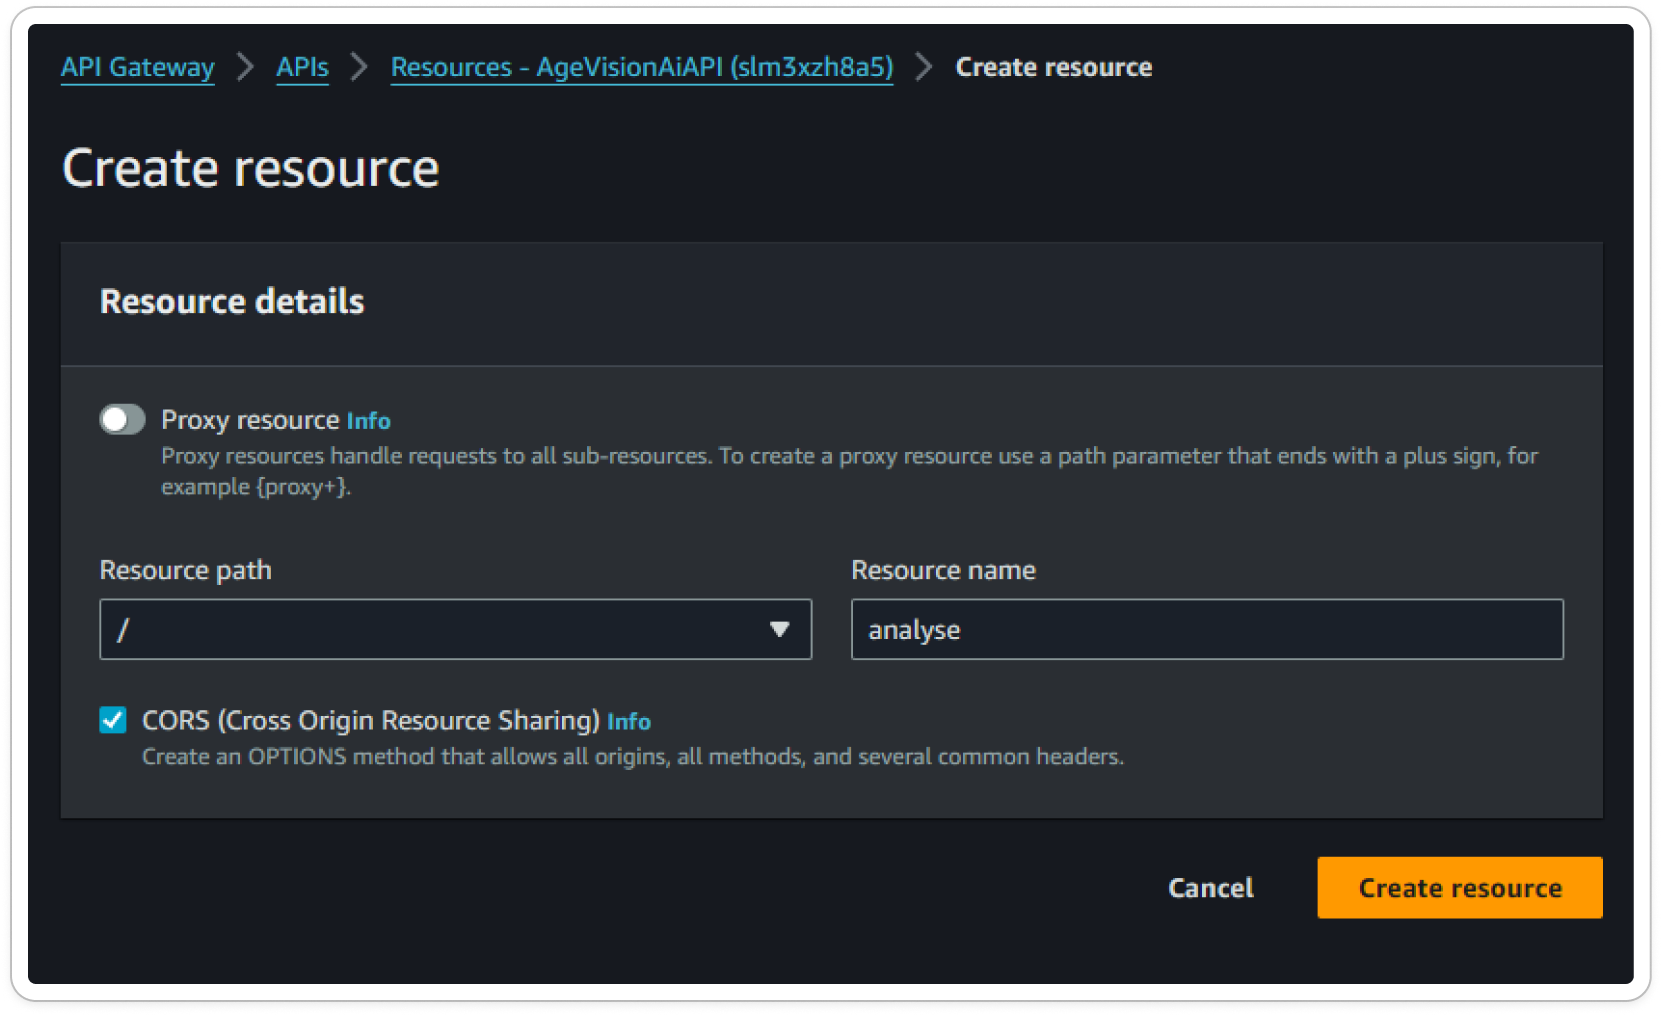
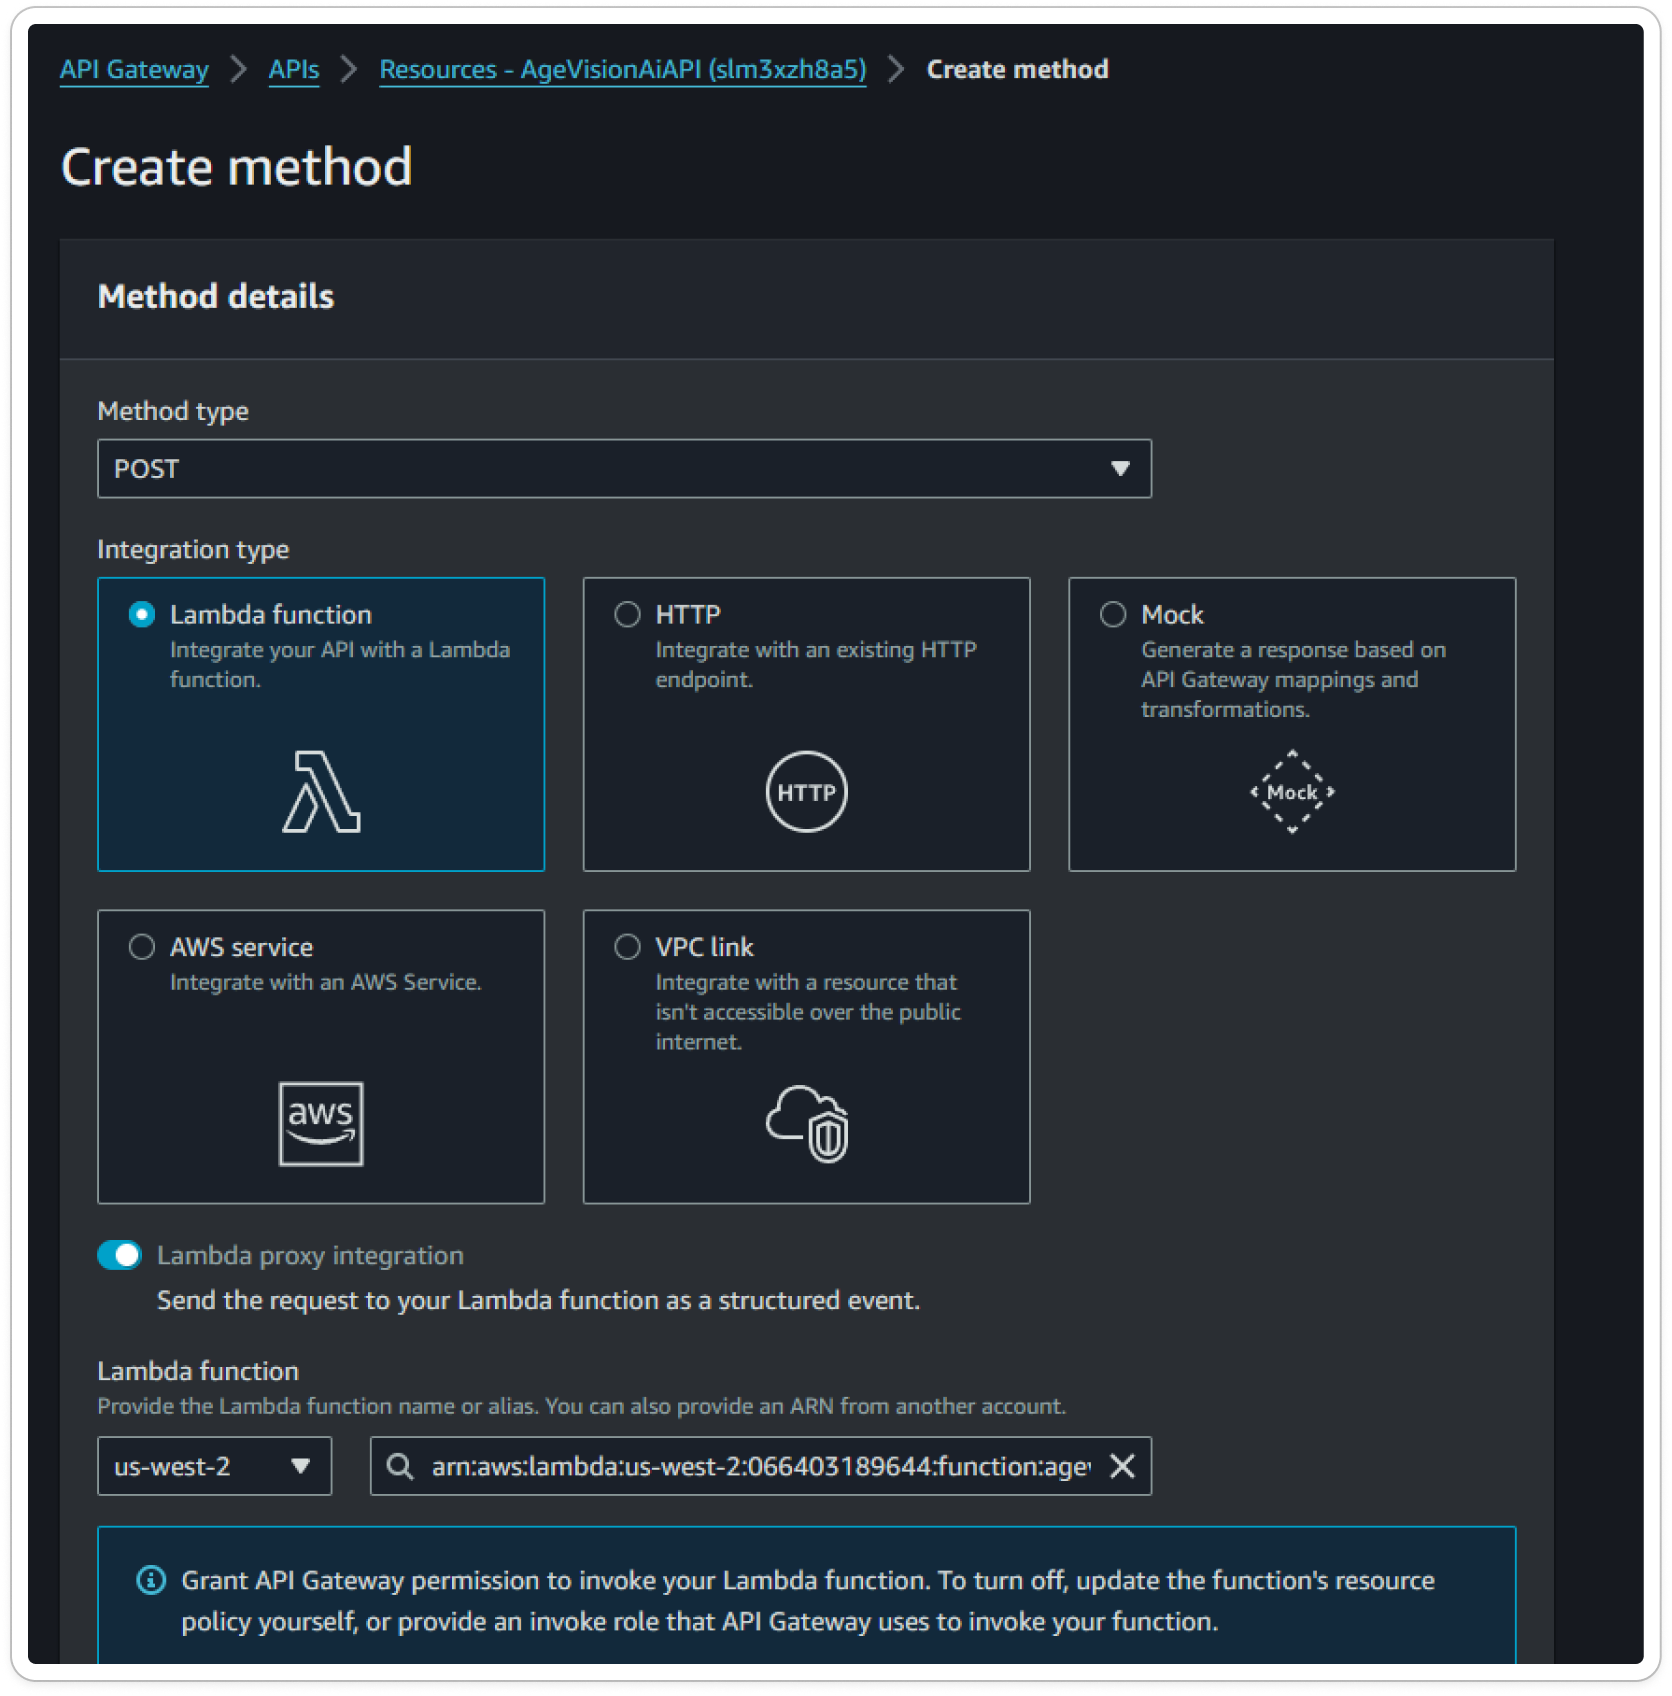
- Click on the "Create Resource" button, where we can specify a name and path, to create the OPTIONS and POST methods.
-
-
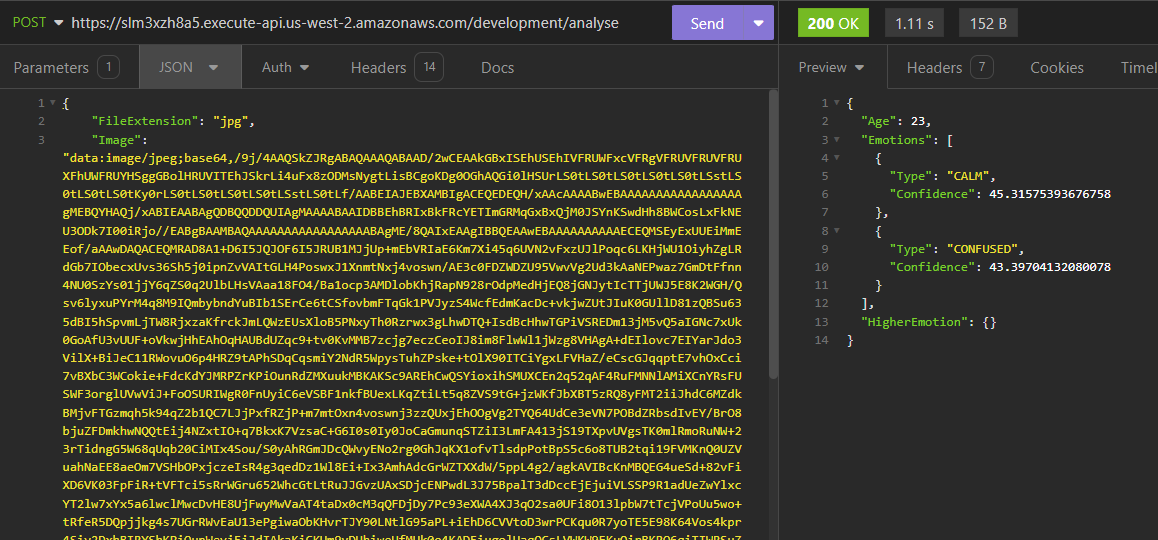
- An example of the API response:
Frontend:
To check the frontend code, you can access our GitHub repository.
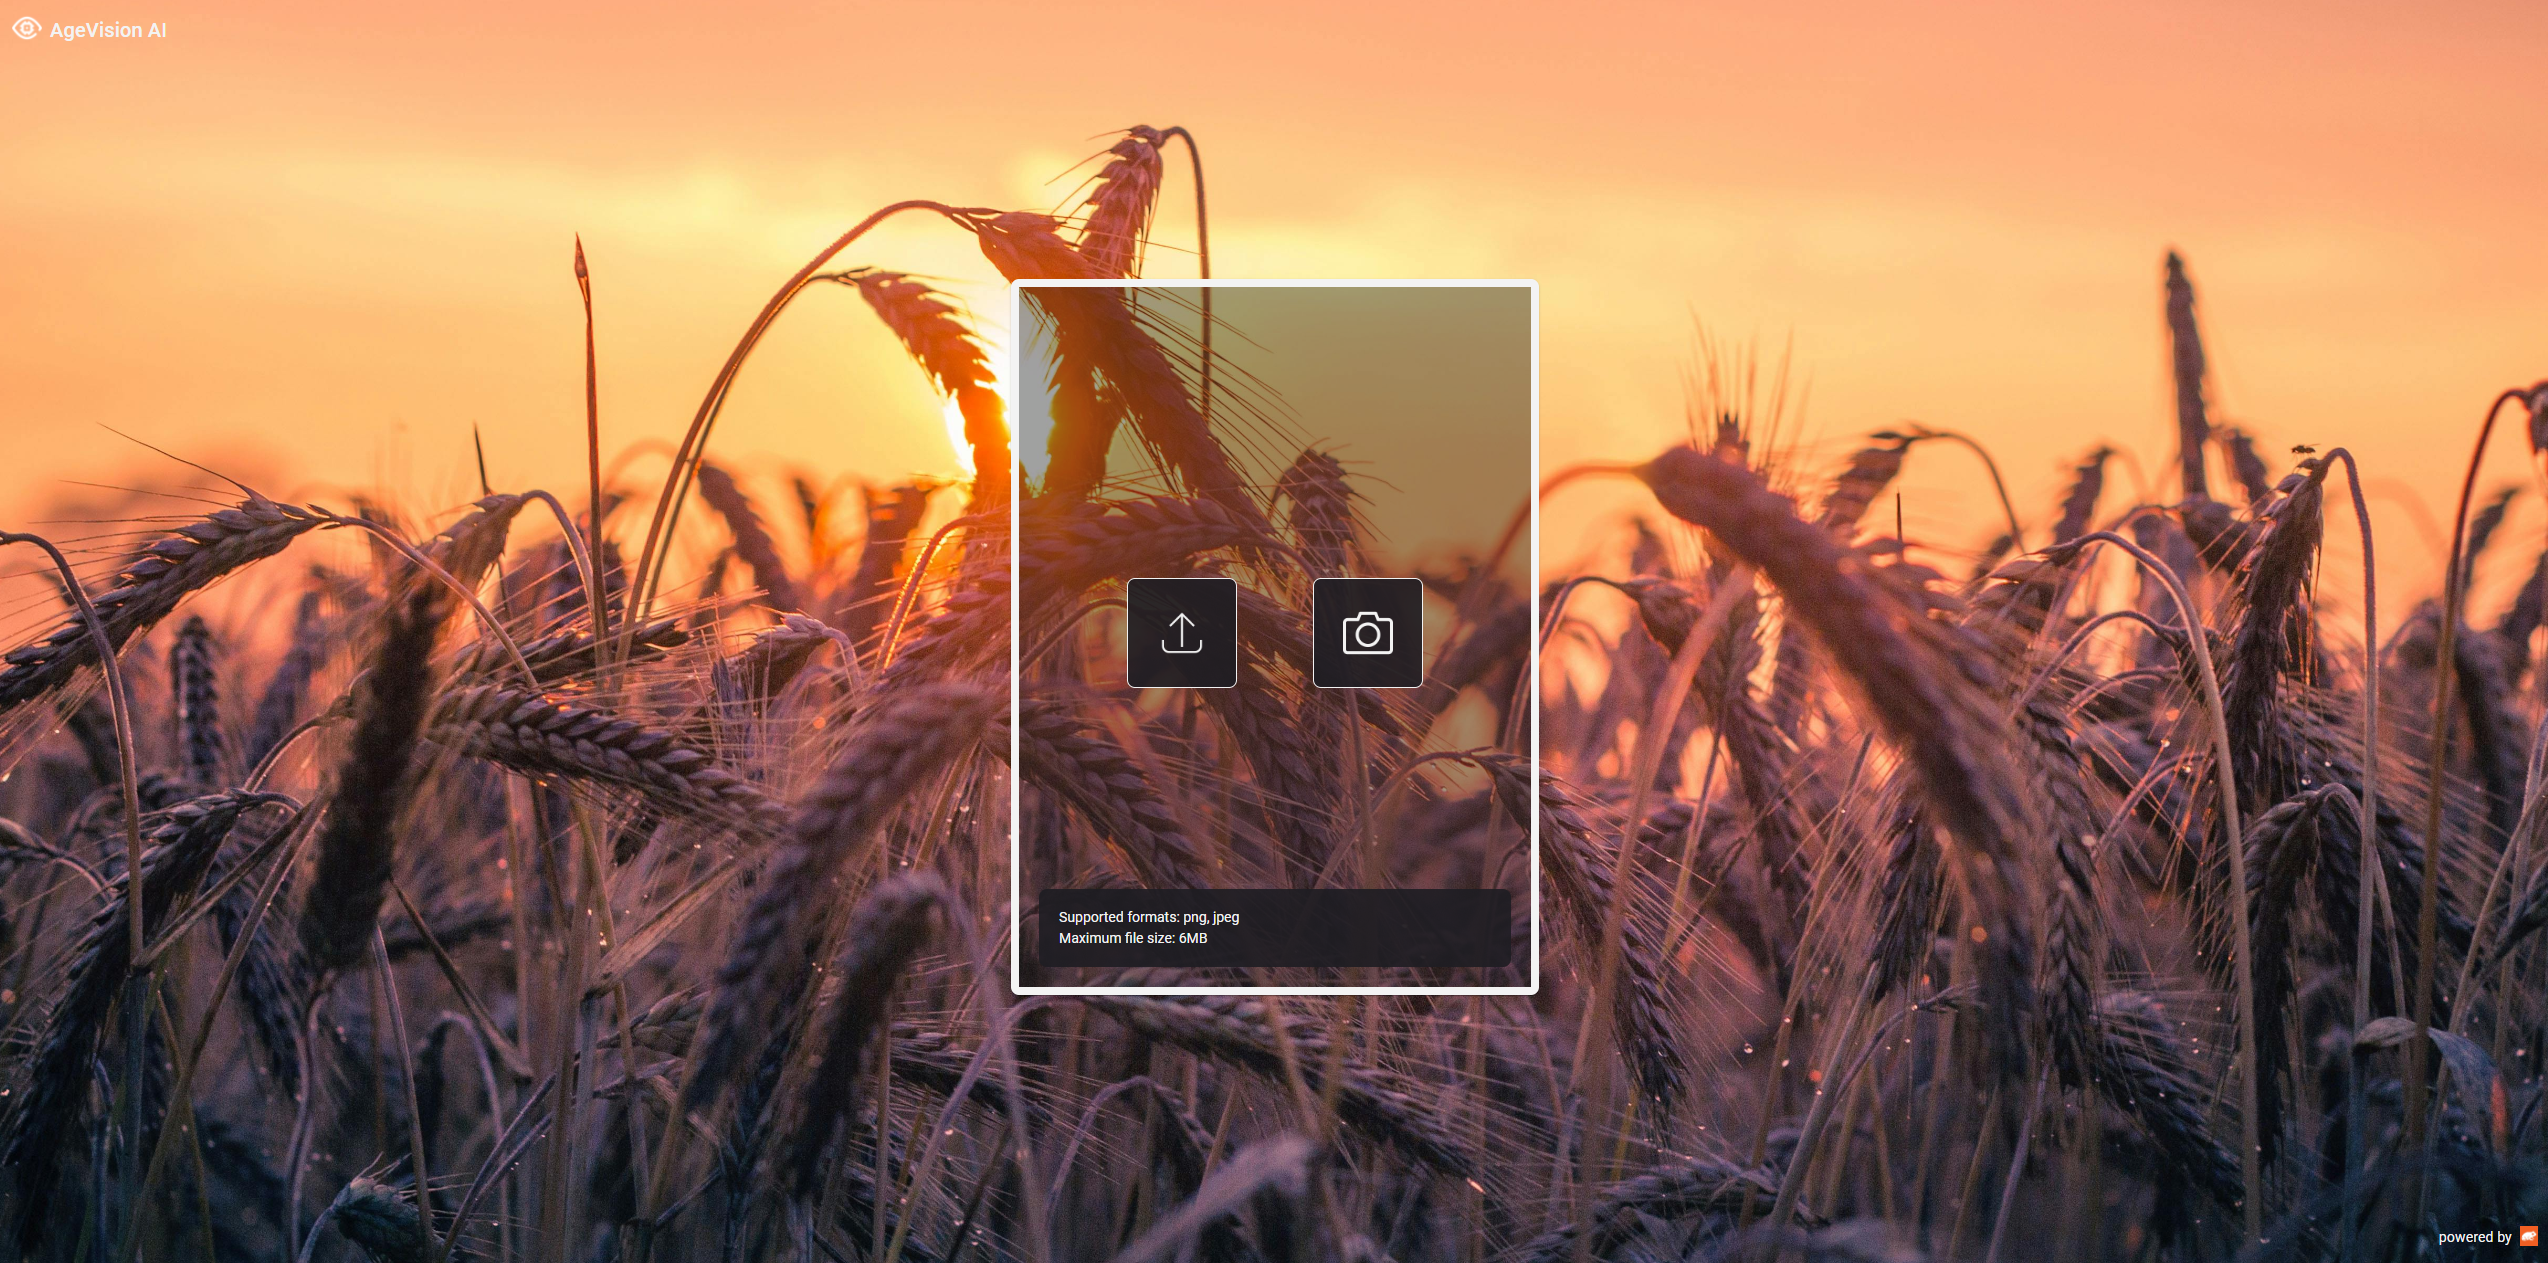
- We have implemented two options: users can either upload images from their computers or take a picture using their webcams;
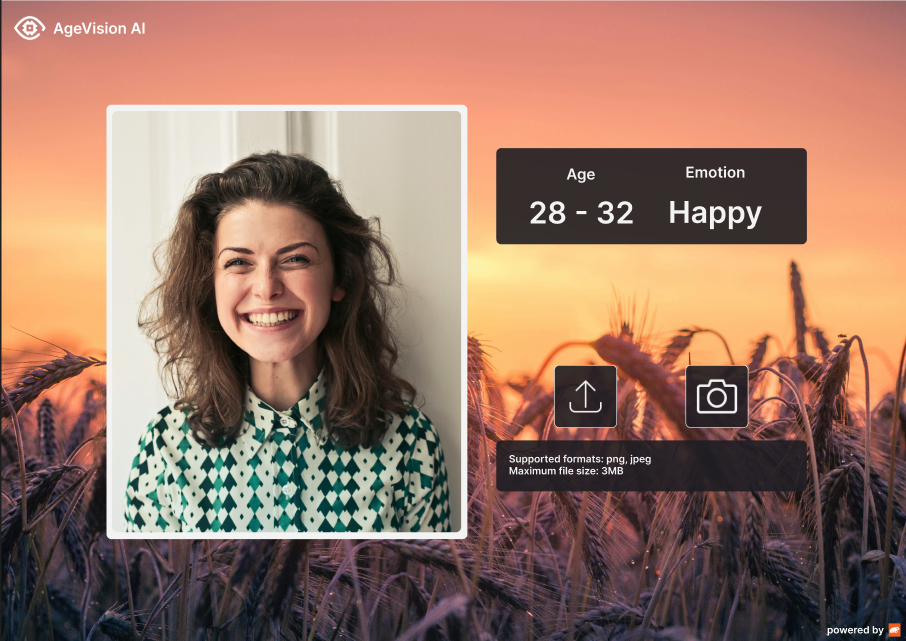
- After uploading the image, the user is directed to the results page where they can view the approximate age and emotion of the person in the picture;
- Additionally, there is a component for displaying rules such as maximum file size and supported formats;
- After uploading a photo, it should return both the age and emotions:
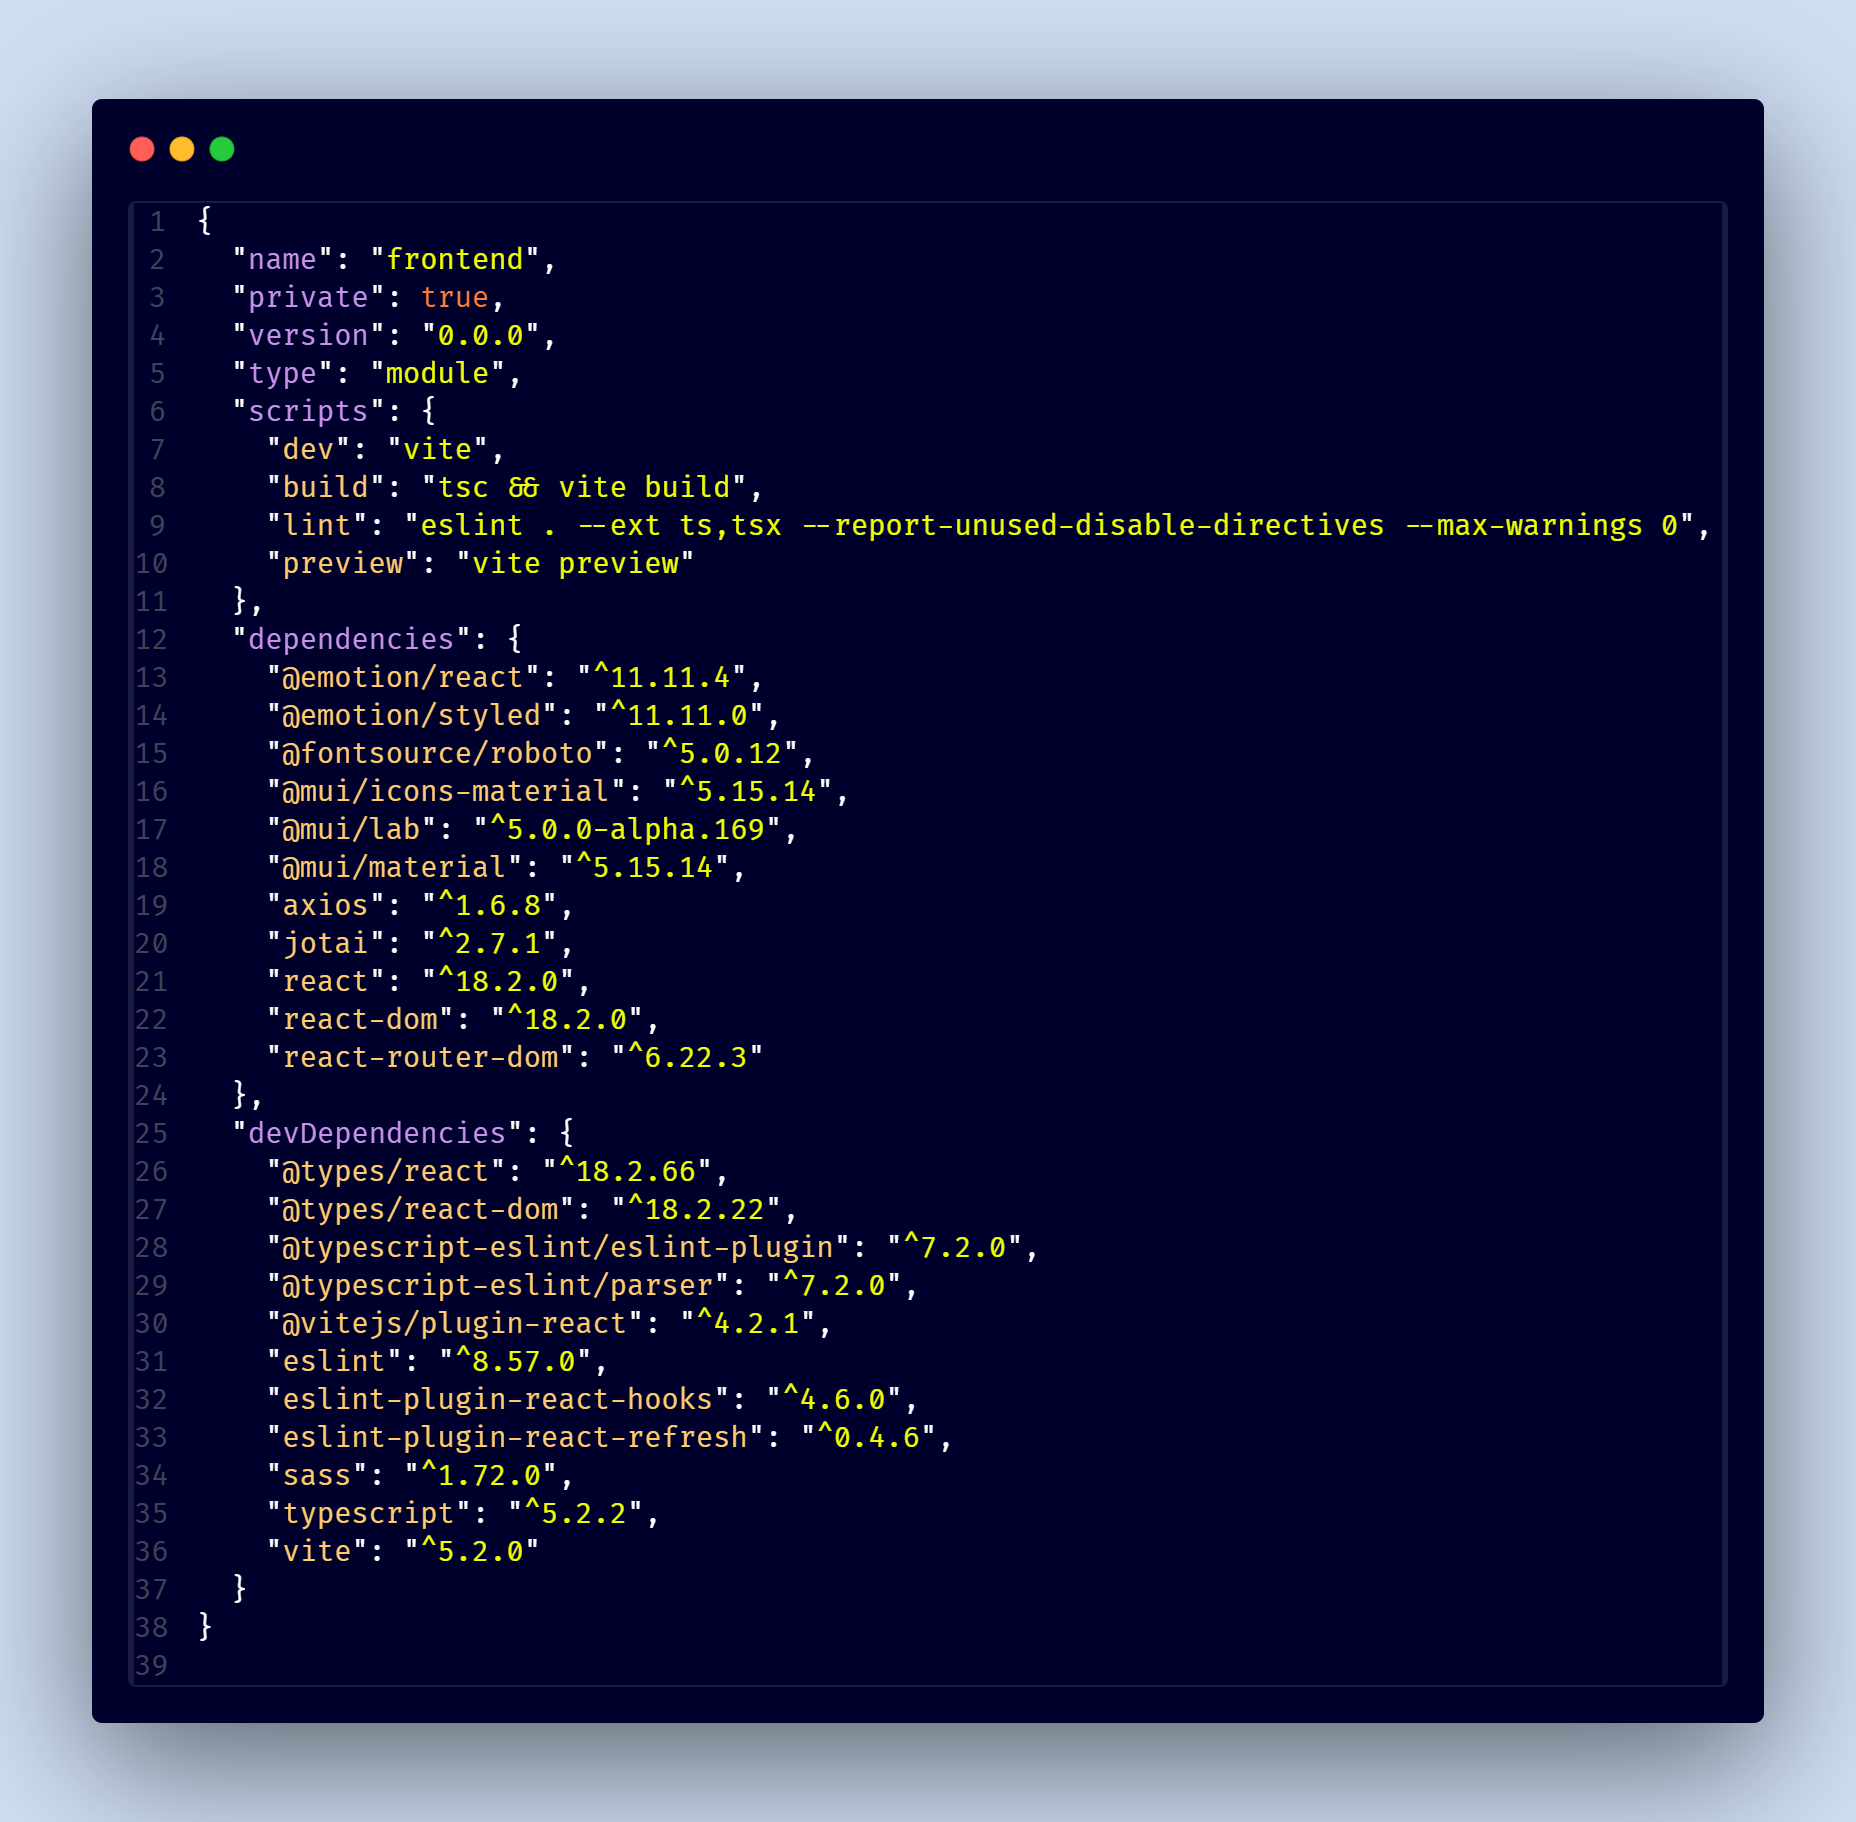
- To make it work, we had to install the following libraries:
- Material UI for components;
- Jotai;
- Axios;
- react-router-dom.
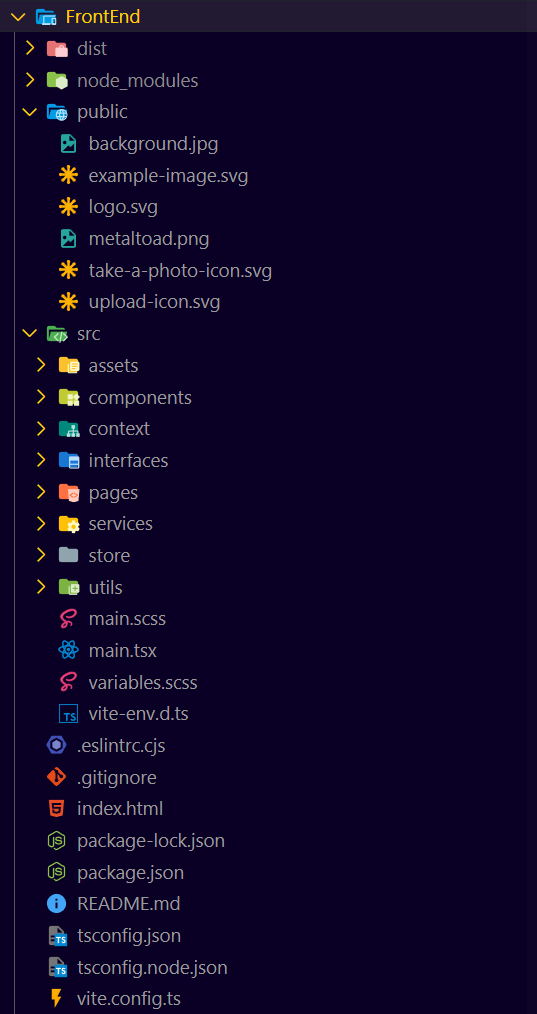
- We decided to organize our folders as follows:
- All images and icons are placed in the public folder;
- We created a context for handling snackbar messages;
- Our API calls are located in the services folder, where we used axios;
- Global state management is handled in the store folder using jotai;
- Additionally, we have common folders for pages, components, and interfaces;
- We opted to use Sass instead of CSS for styling.
That's it! ✨Thank you for your attention!
We hope you've enjoyed the app and we've been able to help and contribute to the community.