Onboarding
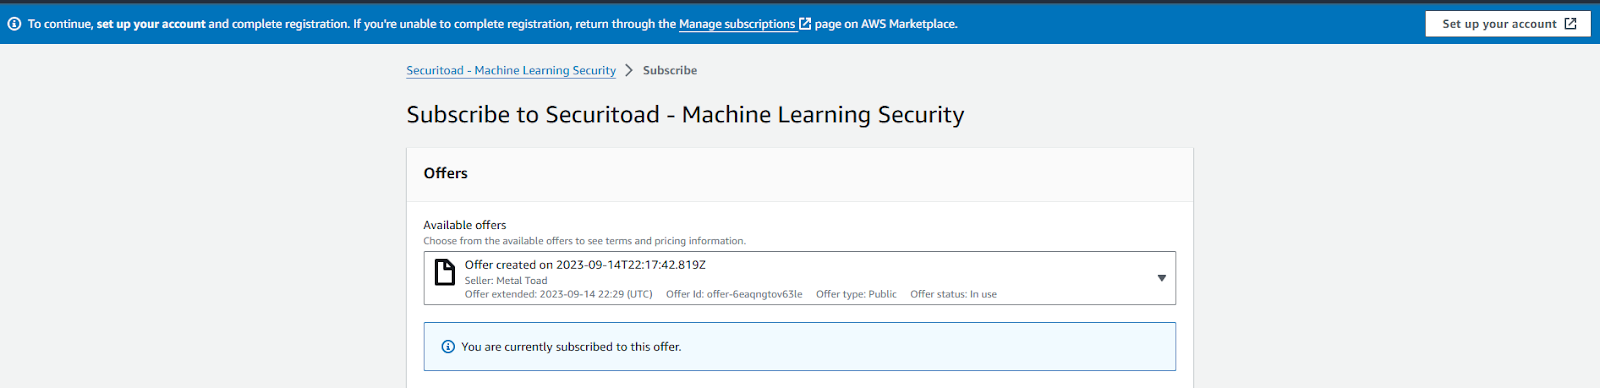
Visit the Securitoad page on the AWS Marketplace and proceed to subscribe.

Once you've subscribed to the application, click on "Set Up Your Account."
Upon subscription, you'll be redirected to the sign-up page to register your account. There, you'll need to provide your information to complete the process.
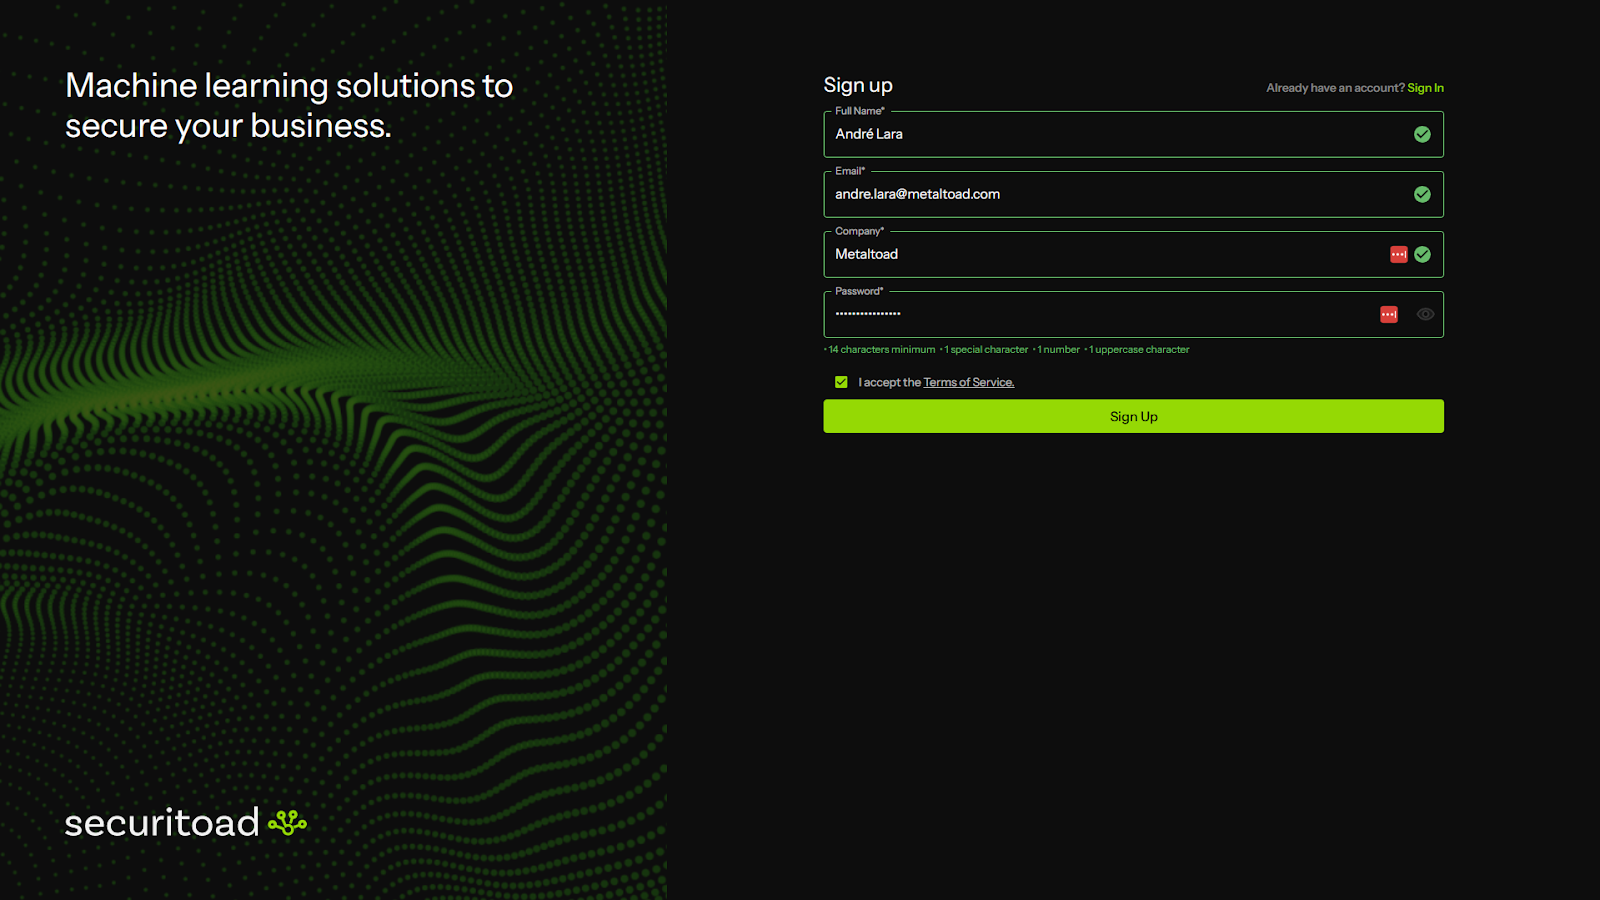
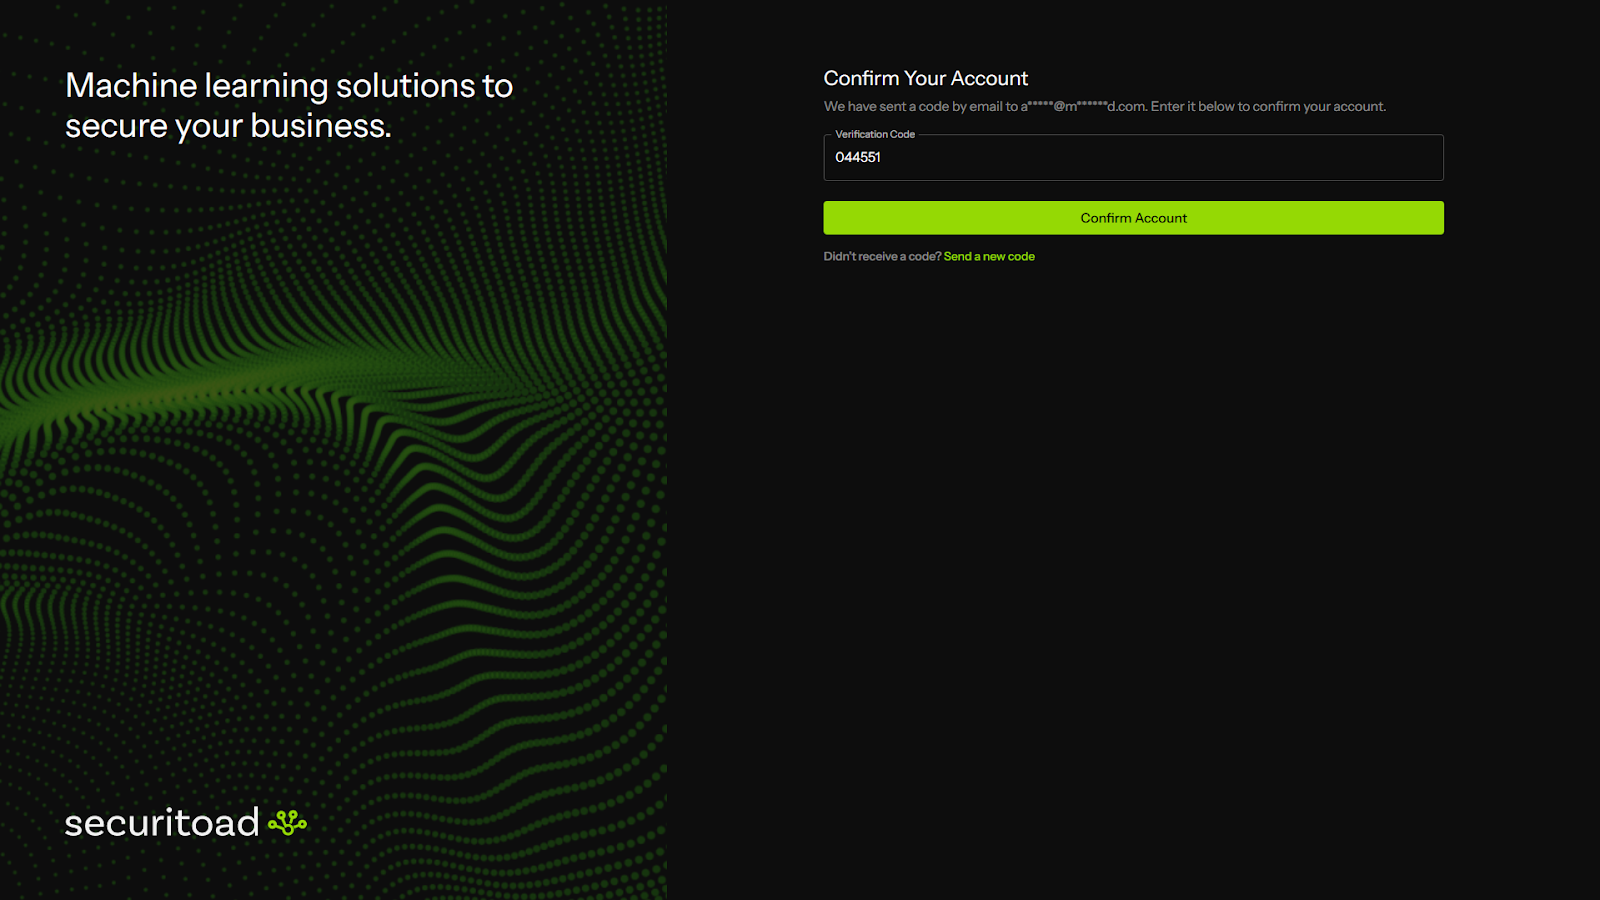
After clicking on "Sign Up," you'll receive an email containing a verification code. You'll need this code to proceed with the sign-up process.

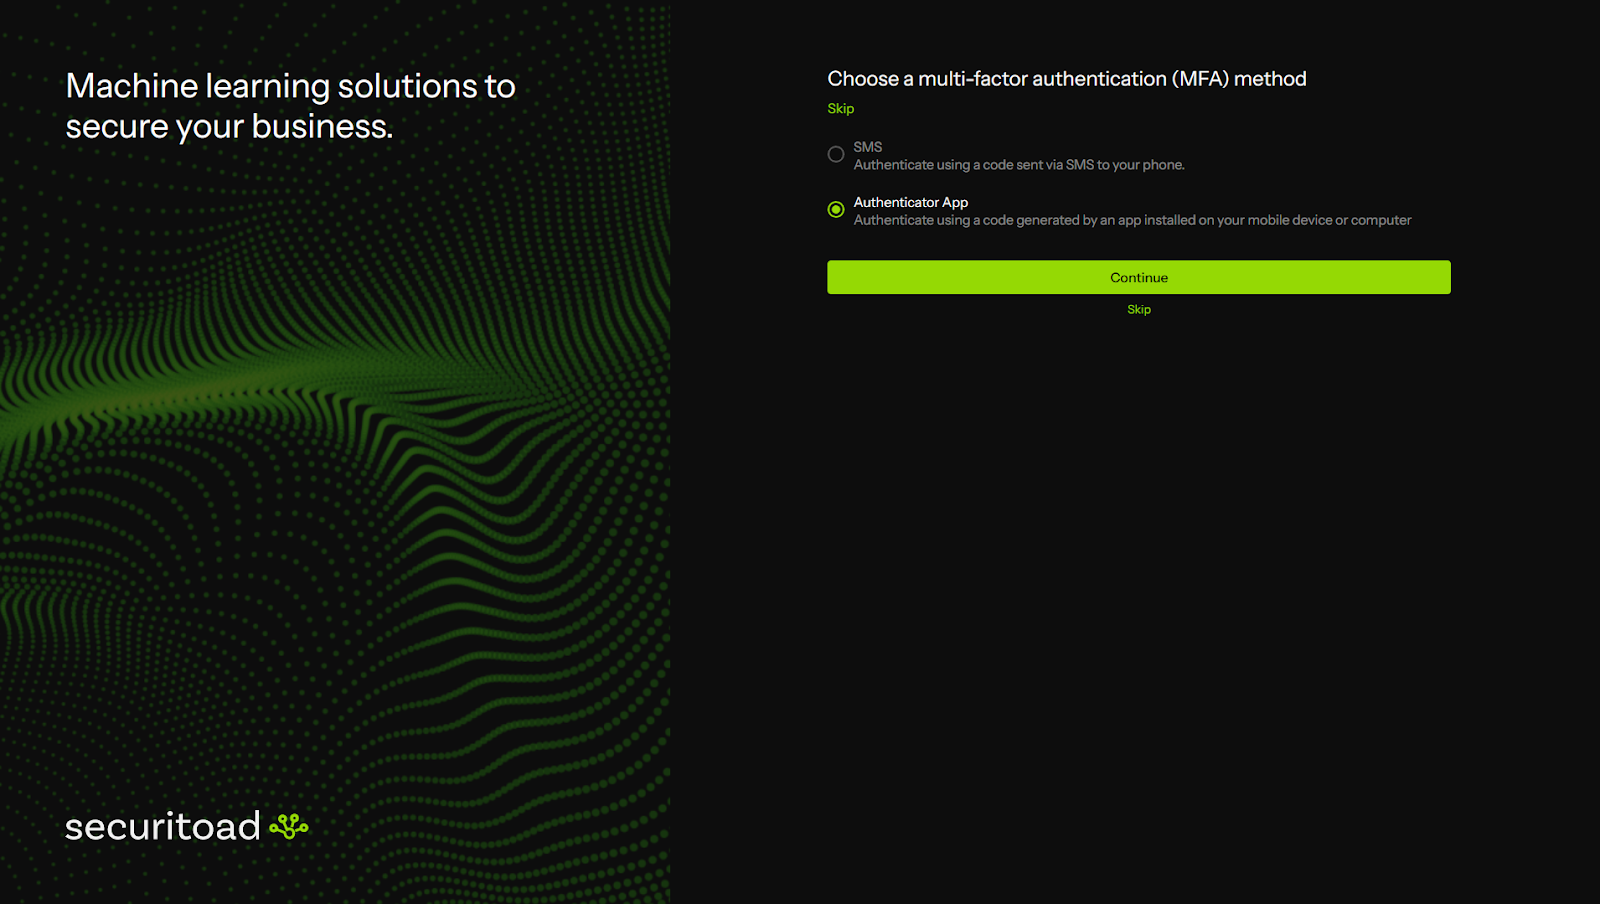
If you wish, you can enhance your account security by setting up a Multi-Factor Authentication Method. Simply follow the instructions on the page to complete this process. It's highly recommended for added security.

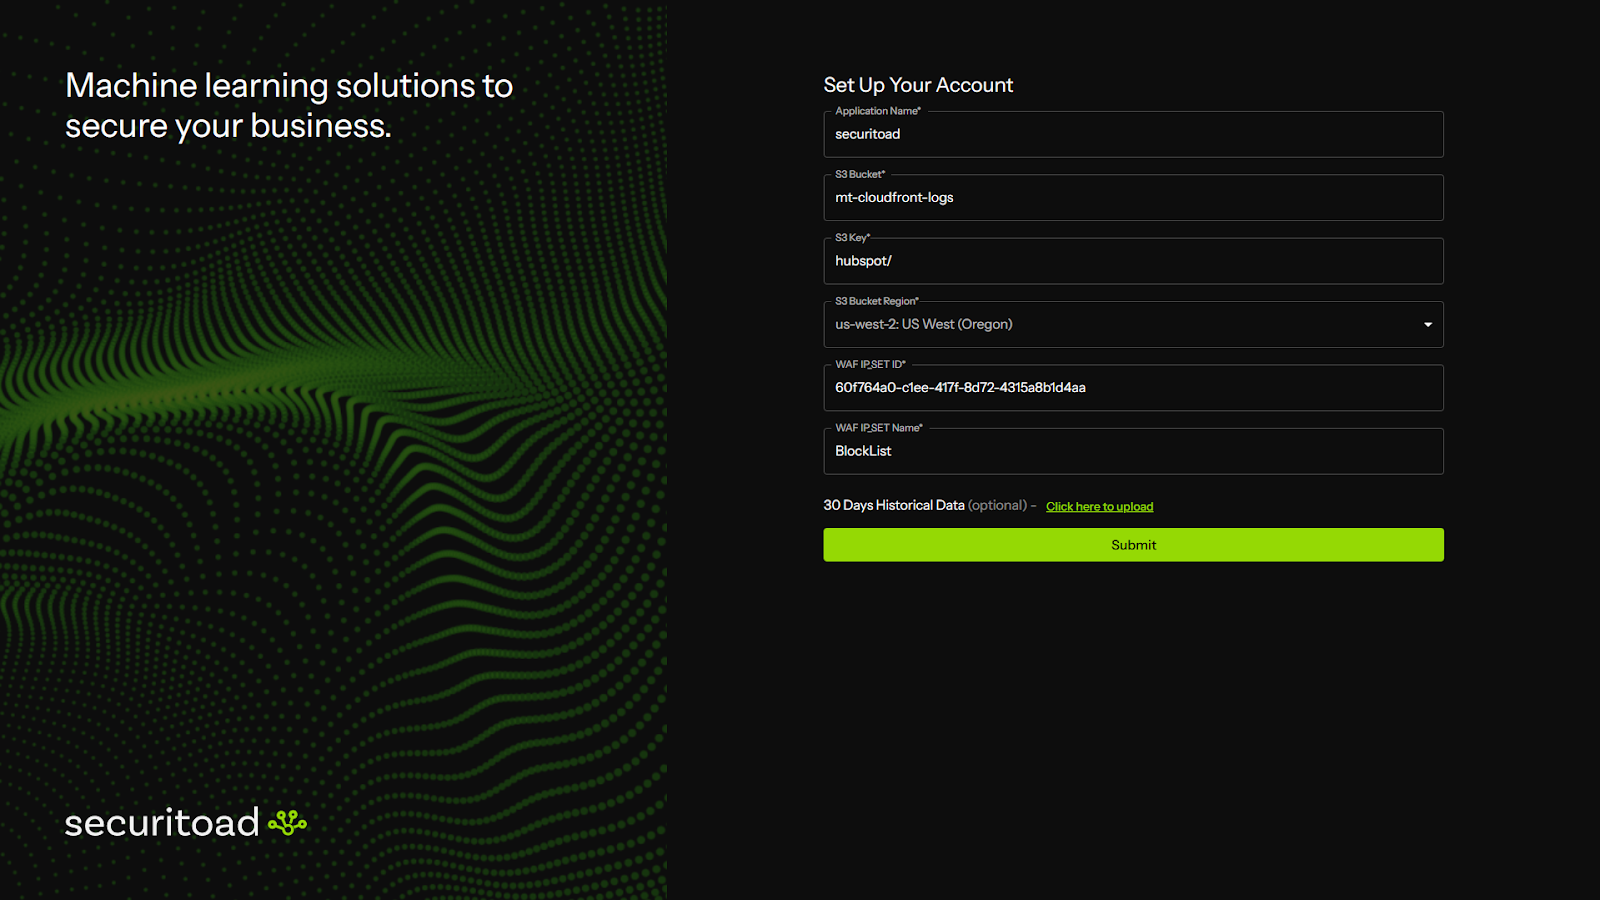
Now it's time to set up your application details. You'll need the following:
- Application Name: Choose a name for your application.
- S3 Bucket: Specify the S3 bucket where the CloudFront logs of your application are stored.
- S3 Key: Provide the key or folder path where the logs are stored inside your bucket.
- S3 Bucket Region: Indicate the region where your bucket is located.
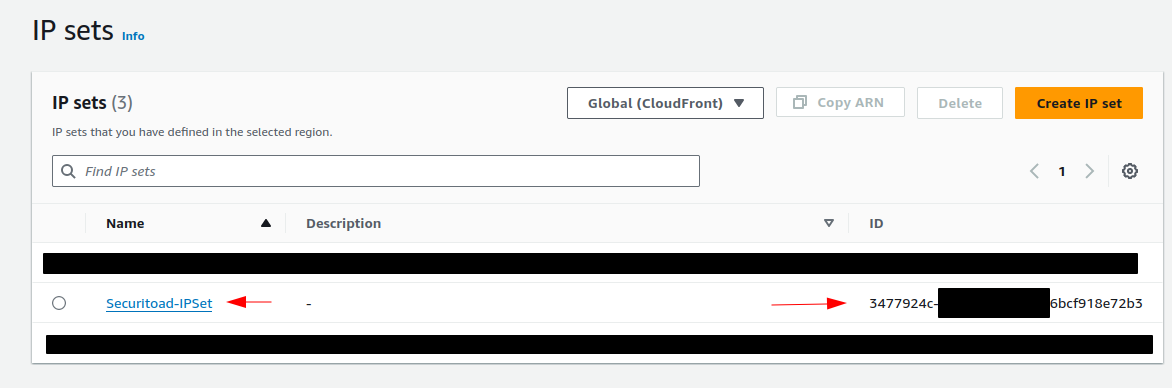
- WAF IP_SET ID: Obtain the ID of your WAF IP set. This IP set will control access to your website, so it's crucial to enable it as a block list.
- WAF IP_SET Name: Enter the name of the IP set you provided in the previous step.
Once you have gathered this information, you can proceed to submit the application form.
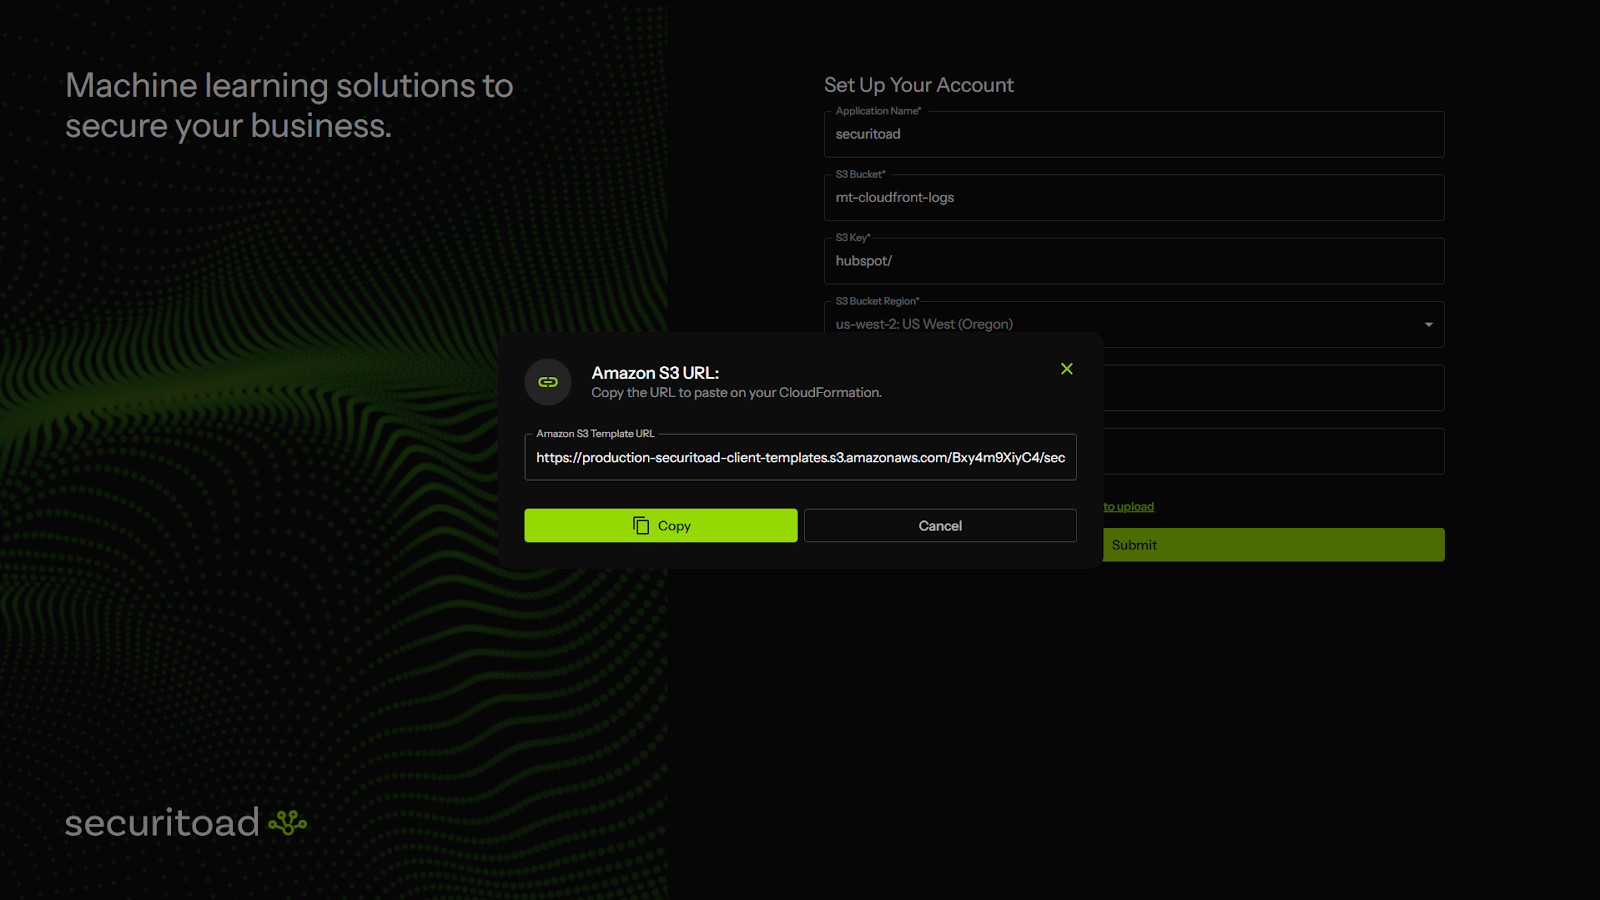
You'll receive a CloudFront template URL. Simply click "Copy" to automatically redirect to the launch stack page with all the necessary information pre-filled.
Make sure to select the box that says "I Acknowledge that AWS CloudFormation might create IAM resources with custom names." After that, click on "Create Stack" to proceed.

Your new stack will be created, containing all the necessary data for Securitoad to function effectively.
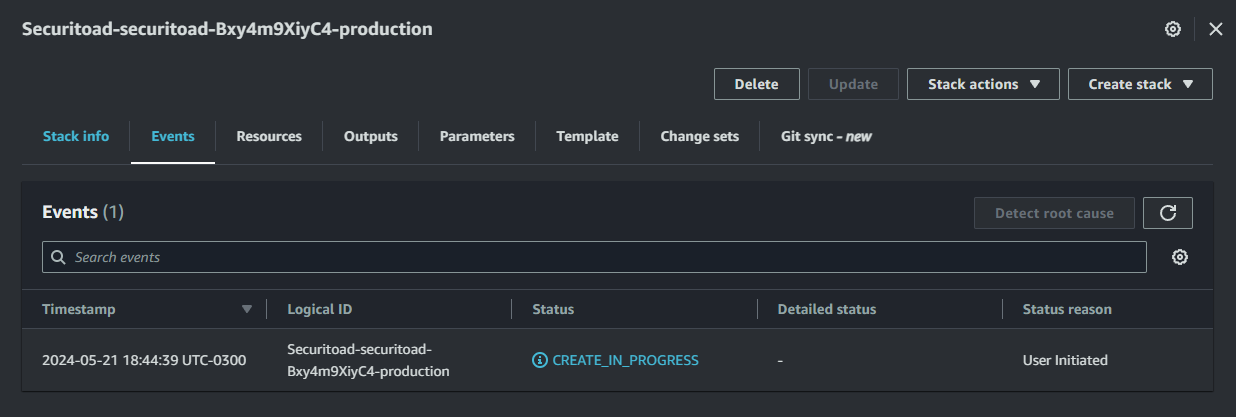
After the creation of the stack, Securitoad will commence analyzing the incoming data. Once it analyzes the initial information, the dashboard will load with analytical data. Please note that this process may take up to 30 minutes for the first data flows to be processed.
Inviting New Members
Log into your Admin account, go to Settings and find the Invite Members button inside the Accounts tab.

A pop up should open, which will allow you to create email invitations for one or more members, and assign a role for each of them.

The new members should show up in the Accounts board.
The invited member will receive a temporary password in their email:
Troubleshooting
No log information is being displayed
That means one of the following is true:
- Everything is fine, your application is onboarded and data is being ingested:
If you just deployed your Cloudformation Stack and the stack status is CREATE_COMPLETE, just wait for 5 minutes. - You need to deploy your application stack: After the creation of your application a final step is required to connect to Securitoad, click on Launch Stack inside the application panel.
- Stack is deployed, status is CREATED_COMPLETE and it has been some time: In this case the best route is to redeploy your stack: go to the AWS console and delete your cloudformation stack, Then click on Launch Stack again.
- My Stack deployment failed:
- This probably has to do with duplicated stack deployments, check if you already deployed the stack.
- Check if the bucket already has EventBridge notifications enabled on the same path as the stack, S3 buckets dont allow multiple notifications for the same path filter.
All traffic is being blocked (403)
You may have a misconfigured WAF Rule or Securitoad Added too many IPs to your IP set.
In case of WAF misconfiguration, check if the default action is on Block or if any rules are Blocking traffic, on the Sampled Requests tab in the WAF page you can find a easy graph to review requests
If your IP set is overloaded with IPs you may want to Purge it, otherwise IPs can be individually removed on the Securitoad Dashboard.
Trouble Logging in
Possible Causes:- Incorrect username and password - Verify you are using the correct username and password, or try the password reset function.
- Subscription status - Check the subscription status in AWS Marketplace.
- Administrator deleted your account - An account was removed by your company Securitoad Administrative user.
Securitoad WAF Purge
Purging the IP set
It is not advised to add or remove Ips through the AWS console. This may be done in case of emergencies or when an application is being offboarded. The easiest way to do this is through the command line, the web interface allows you to delete IPs from an IP set individually but not in bulk.
After you identified the given IP, go to the AWS console and grab its name and ID.
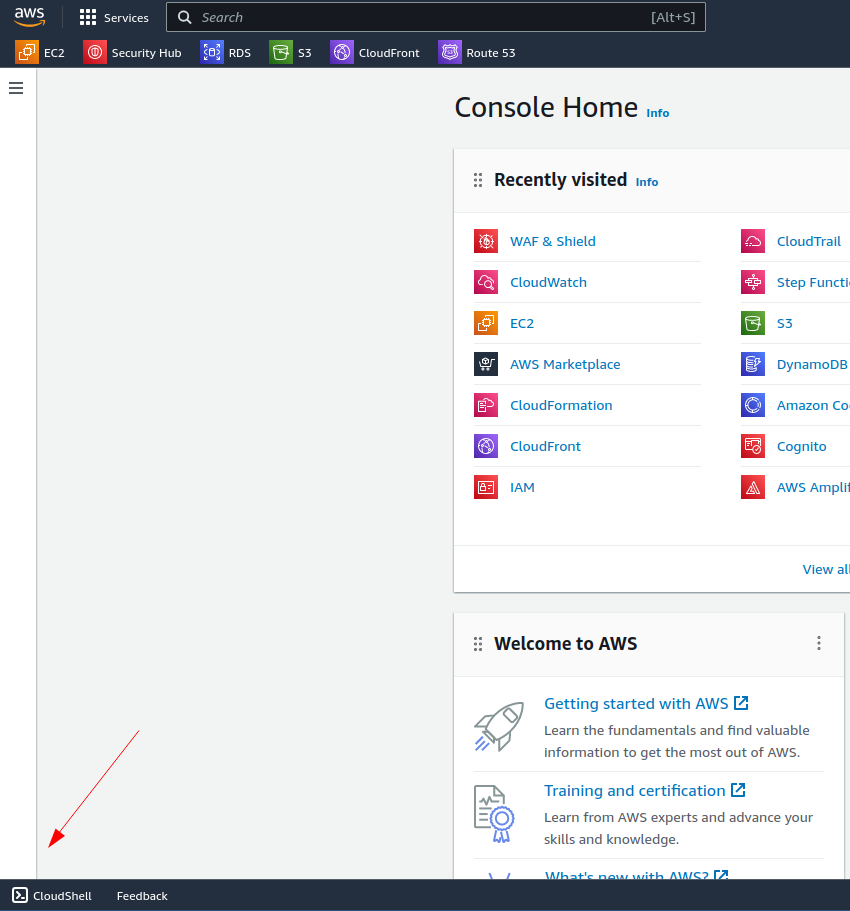
Then, open the CloudShell on the bottom left of any AWS console page.
After the shell is open paste the following commands, note that <<ipsetname>> and <<ipsetid>> are the information grabbed earlier:
export IPSETNAME="<<ipsetname>>"
export IPSETID="<<ipsetid>>"
aws wafv2 update-ip-set --region us-east-1 --scope CLOUDFRONT --name $IPSETNAME --id $IPSETID  --addresses "[]" --lock-token $(aws wafv2 get-ip-set --region us-east-1 --scope CLOUDFRONT --name $IPSETNAME --id $IPSETID | jq -r '.LockToken')
WAF Setup
WAF Configuration
If you don't have a WAF setup then you can review AWS instructions here. https://docs.aws.amazon.com/waf/latest/developerguide/getting-started.html
Once WAF is created, setup an IPSet. AWS Instructions are here: https://docs.aws.amazon.com/waf/latest/developerguide/waf-ip-set-creating.html
Note: It is recommended to have a dedicated IPSet for Securitoad for easier management.
Create a new Rule for the Securitoad IPSet.
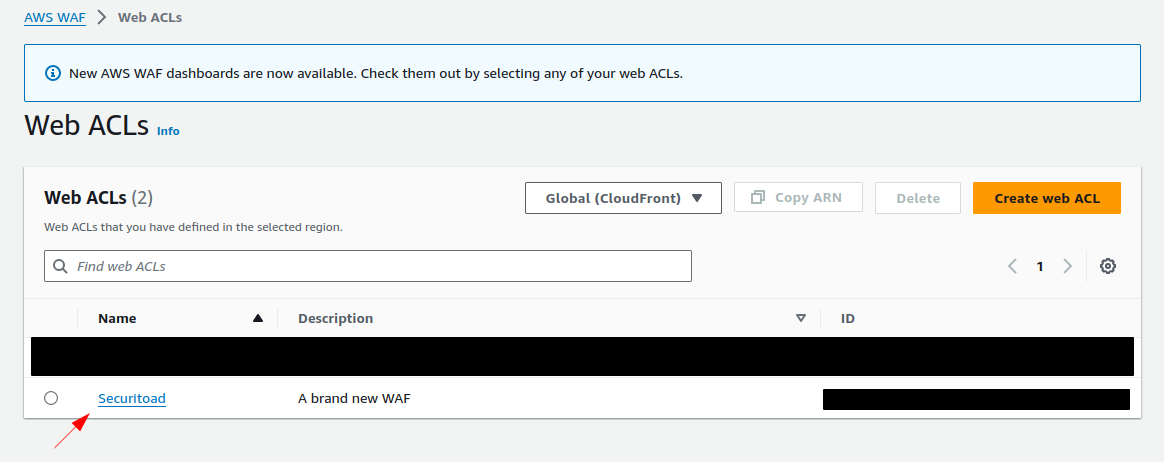
- Goto WebACL panel and click on the webACL that you created in the AWS Instructions above.
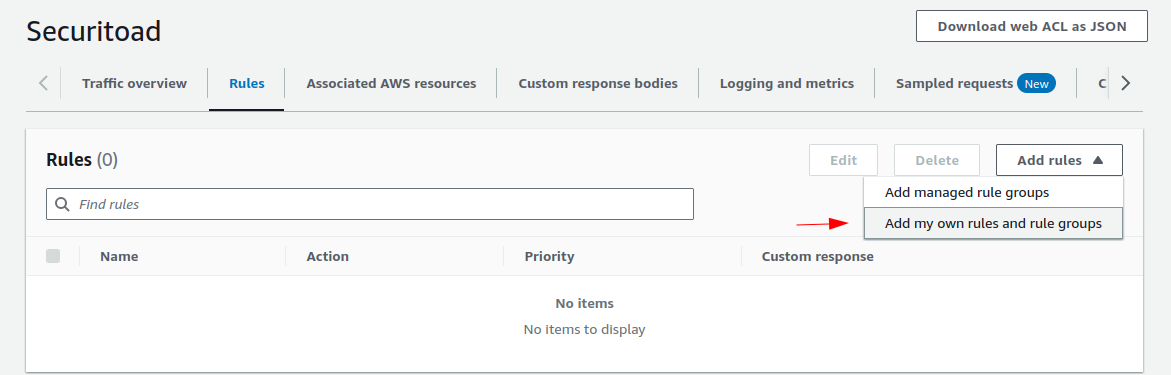
- Access the Rules tab
- Click on Add my own rules and groups
- Select the IP set rule type and Fill out the name of the Rule.
- Select the IPSet you created for Securitoad.
- Note: SecuriToad uses this to rule to block traffic. Not having the Block selected may mean traffic still gets through. If you are testing or want to see what Securitoad reports, Count is the best option to use. More on the different behaviors are here. https://docs.aws.amazon.com/waf/latest/developerguide/waf-rule-action.html
- Note: SecuriToad uses this to rule to block traffic. Not having the Block selected may mean traffic still gets through. If you are testing or want to see what Securitoad reports, Count is the best option to use. More on the different behaviors are here. https://docs.aws.amazon.com/waf/latest/developerguide/waf-rule-action.html
- Click on Add rule and then Save.


Allowing/Blocking IPs
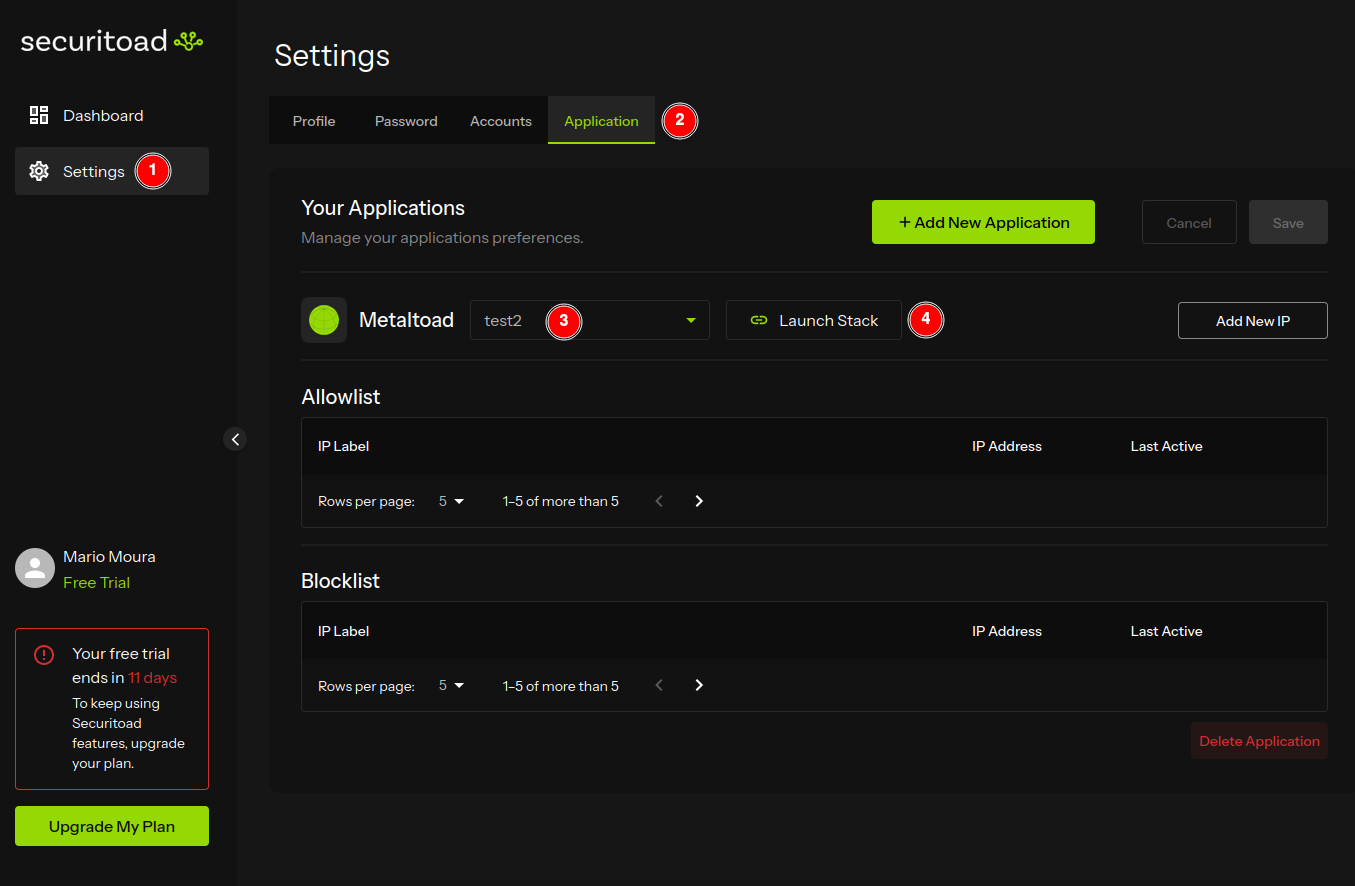
Log into your Admin account, go to Settings and find the Add New IP button inside the Application tab.
Allowing an IP address
After clicking the Add New IP button, a pop up should open, which will let you allow as many IP addresses as you need.
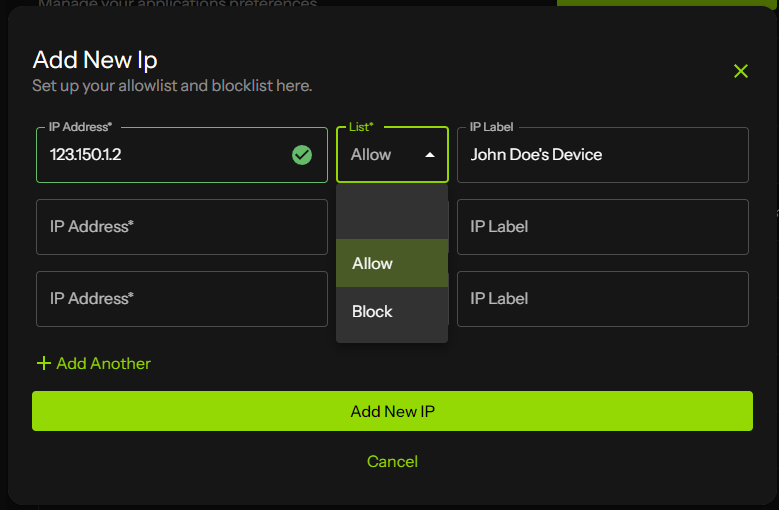
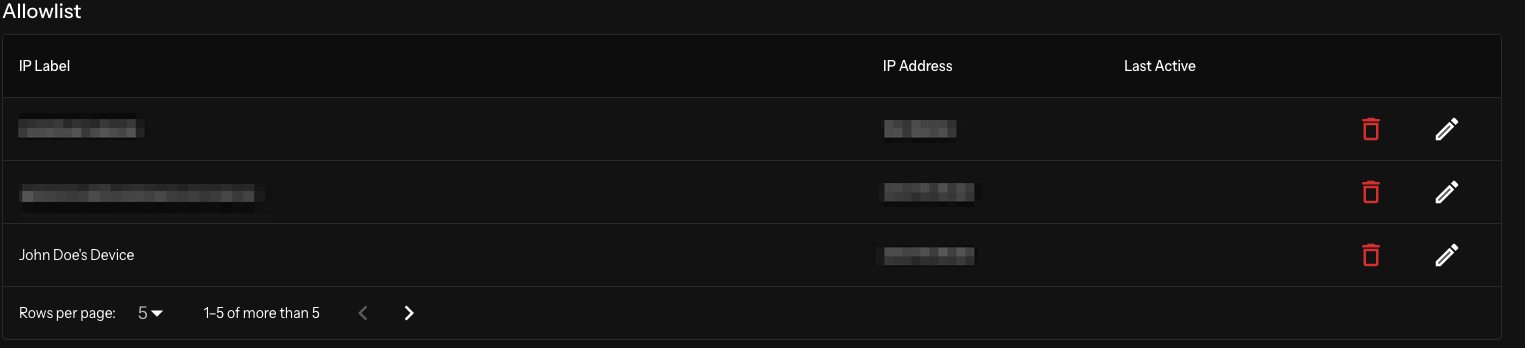
Allowing “John Doe’s Device”
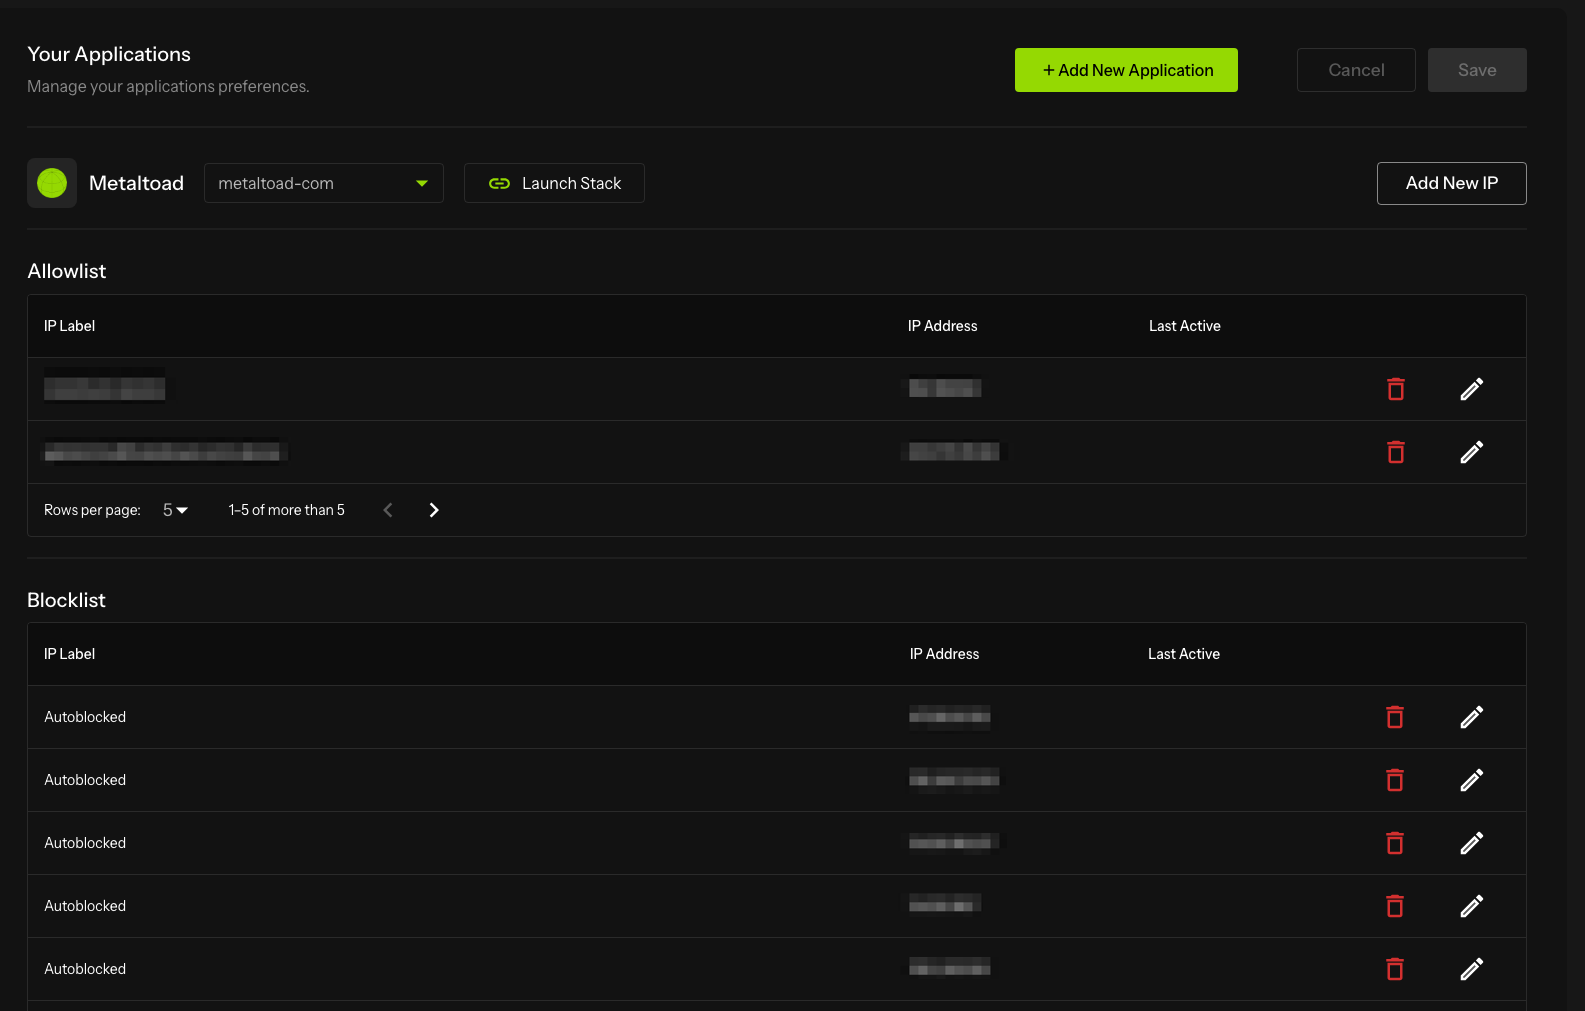
When done, you should be redirected to the Application tab, where you can check the Allowlist for the allowed IP addresses:
Blocking an IP address
The same Add New IP pop up lets you block IP addresses manually.
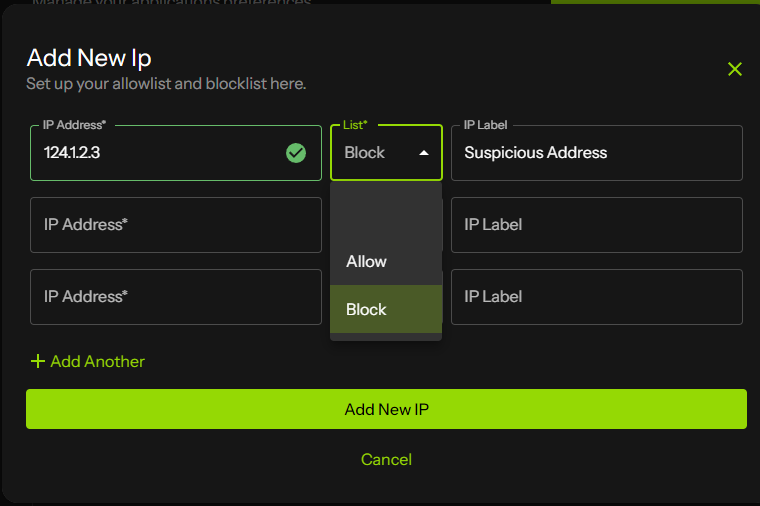
Blocking “Suspicious Address”
In the Application tab, the Blocklist is found below the Allowlist, and there you can check the list of IP addresses that have been blocked either manually or automatically
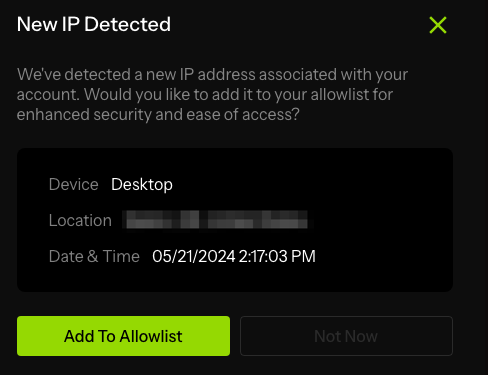
New IP Detection
If you are are an Admin, a prompt is displayed when a new IP associated with your account is automatically detected:
Offboarding
Visit the Securitoad dashboard and proceed to the settings page

Under the application tab, you can see a “Delete application” button in the bottom right corner, where you can click.

It will present you with a prompt, where you can write “DELETE APPLICATION” in order to enable the delete button

Clicking on this button will delete the following resources:
- All the logs provided, together with all the analysed data for that particular application
- All your team members accounts related to that application (Other applications will not be affected)
The next step will be deleting your CloudFormation stack in AWS console, you will be able to do that through the CloudFormation application. Clicking on delete will delete that Stack and return a “DELETE_COMPLETE” status.

Then, after doing that you can access the AWS Marketplace console where you will find the Securitoad application

Clicking on manage will redirect you to the manage page, where you can see all the details about the product:

After that, click in actions and then in “Cancel Subscription”, being the last part of the offboarding process, when it is concluded, Securitoad will be securely removed from your account.